

Small campground habits can protect an RV, save time, and keep a tight loop peaceful.
The best ones are simple enough to use on the next trip.
Editor’s note: This article is an opinion guide based on public campground rules, RV safety guidance, and common traveler practices.
21. Arrive With Enough Daylight to Read the Site
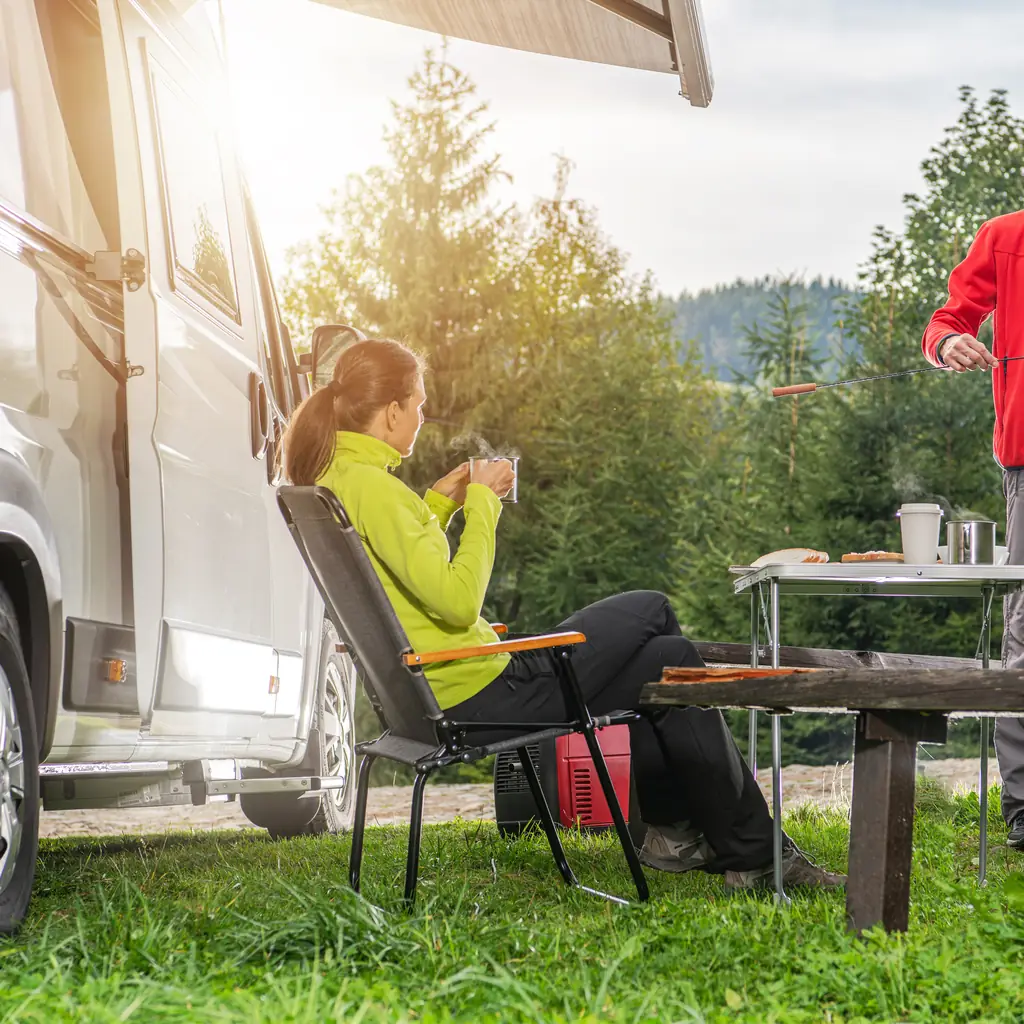
A campsite that looks generous on a booking map can feel narrow behind the wheel. Low branches, picnic tables, fire rings, and a sloping pad are much easier to judge before sunset.
Experienced campers leave enough daylight for a slow walk-around and a second backing attempt. They do not let a line of waiting vehicles rush the setup.
If a late arrival cannot be avoided, call the campground and ask about gate access, quiet hours, and the safest place to wait until morning.
20. Measure the Whole Rig, Not Only the Trailer
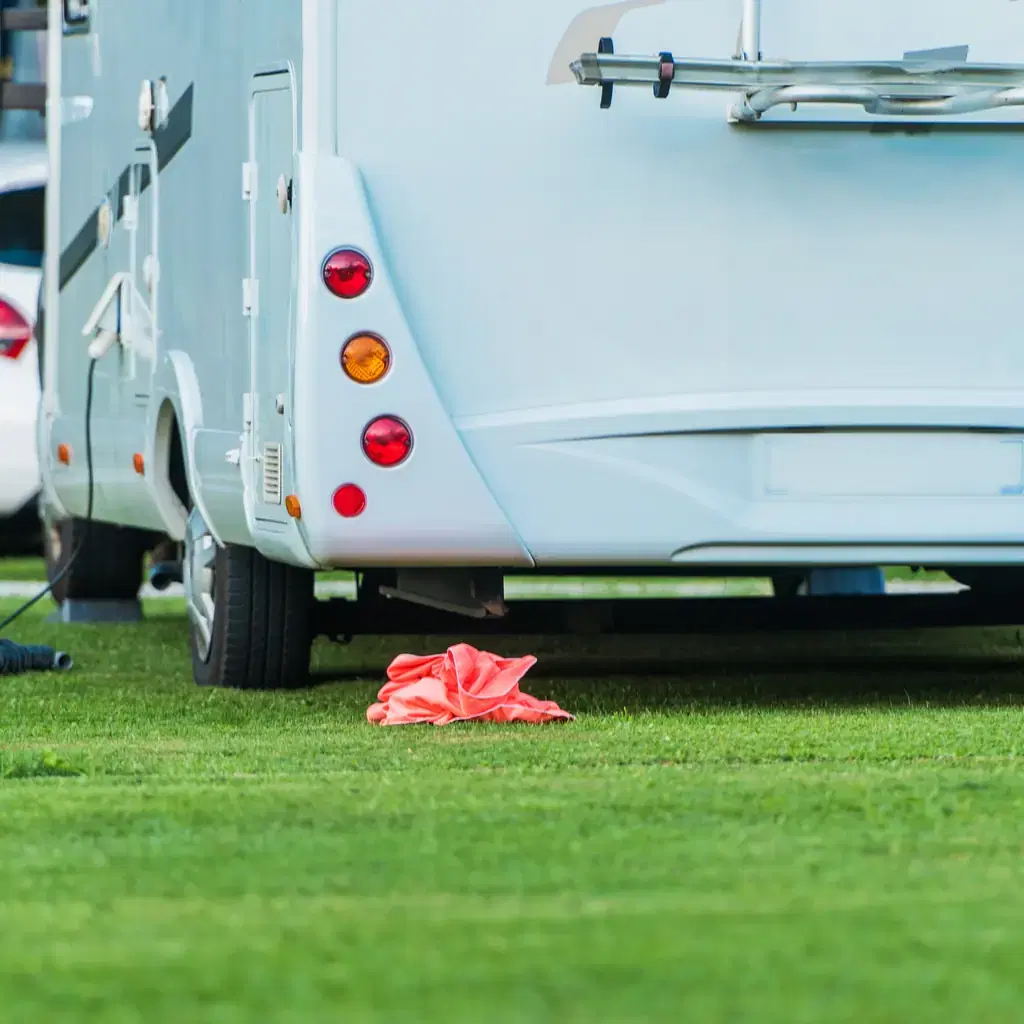
Reservation systems may list a maximum vehicle length, but the useful number includes the tow vehicle, hitch, bike rack, and anything mounted behind the bumper. A 30-foot trailer can need far more than 30 feet of usable space.
Write the full travel length and the trailer length in the notes app on your phone. Also record the height with rooftop air conditioners.
Those two numbers prevent an awkward arrival at a short pad or a low branch.
19. Follow the Campground Loop Direction
Many campground loops are one-way because the sites angle toward traffic. Entering from the wrong direction can turn an easy back-in site into a blind, sharp maneuver.
Watch the arrows near the entrance and resist the temptation to take a short cut. The correct loop also keeps the RV door and outdoor living area on the intended side of the site.
A missed turn costs a few minutes. Blocking the loop while trying to reverse costs everyone more.
18. Walk the Site Before Backing In
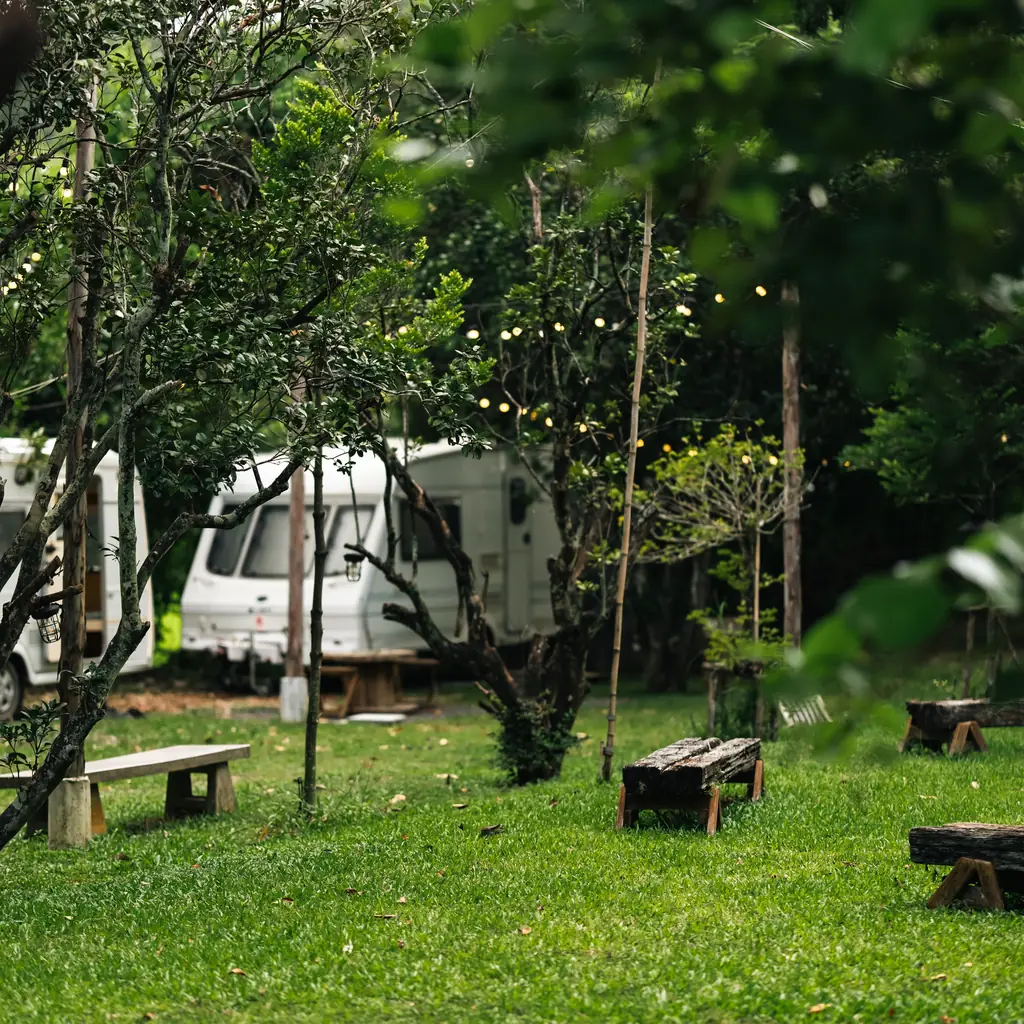
The driver cannot see every stump, branch, utility post, or change in grade from the cab. A 30-second walk reveals where the wheels should finish and which side needs the most clearance.
Look up as well as down. Air conditioners, vents, ladders, and awnings sit well above the driver’s normal sight line.
Choose a stopping point before the RV moves. That gives the spotter a clear target instead of a stream of last-second corrections.
17. Agree on Hand Signals Before the Engine Starts
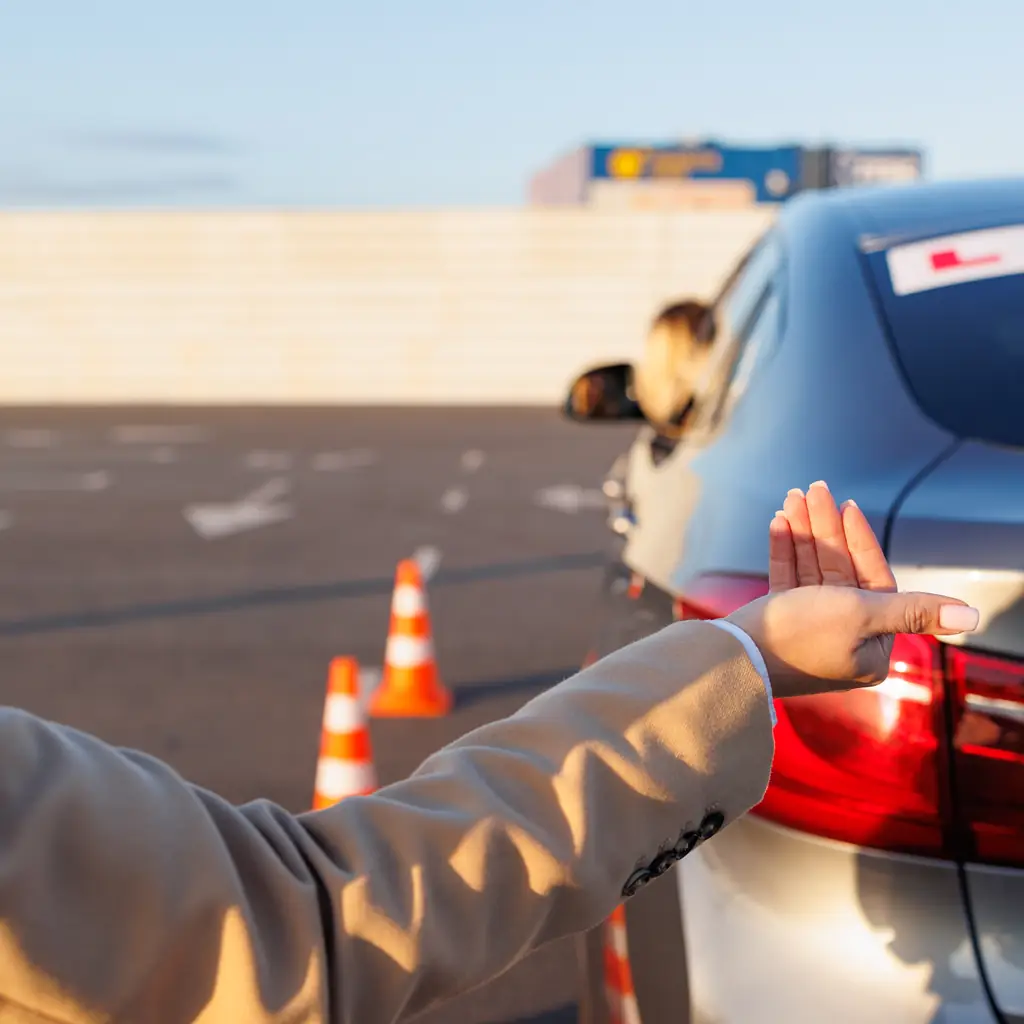
Shouting through a diesel engine rarely produces precise instructions. Couples who back in smoothly usually agree on a few signals: come toward me, turn this way, straighten, and stop.
One rule matters most: if the driver cannot see the spotter, the driver stops. A phone call or two-way radio can help, but neither replaces eye contact.
The spotter should watch the roof, rear corner, and utility side rather than walking backward into the road.
16. Chock the Wheels Before Unhitching
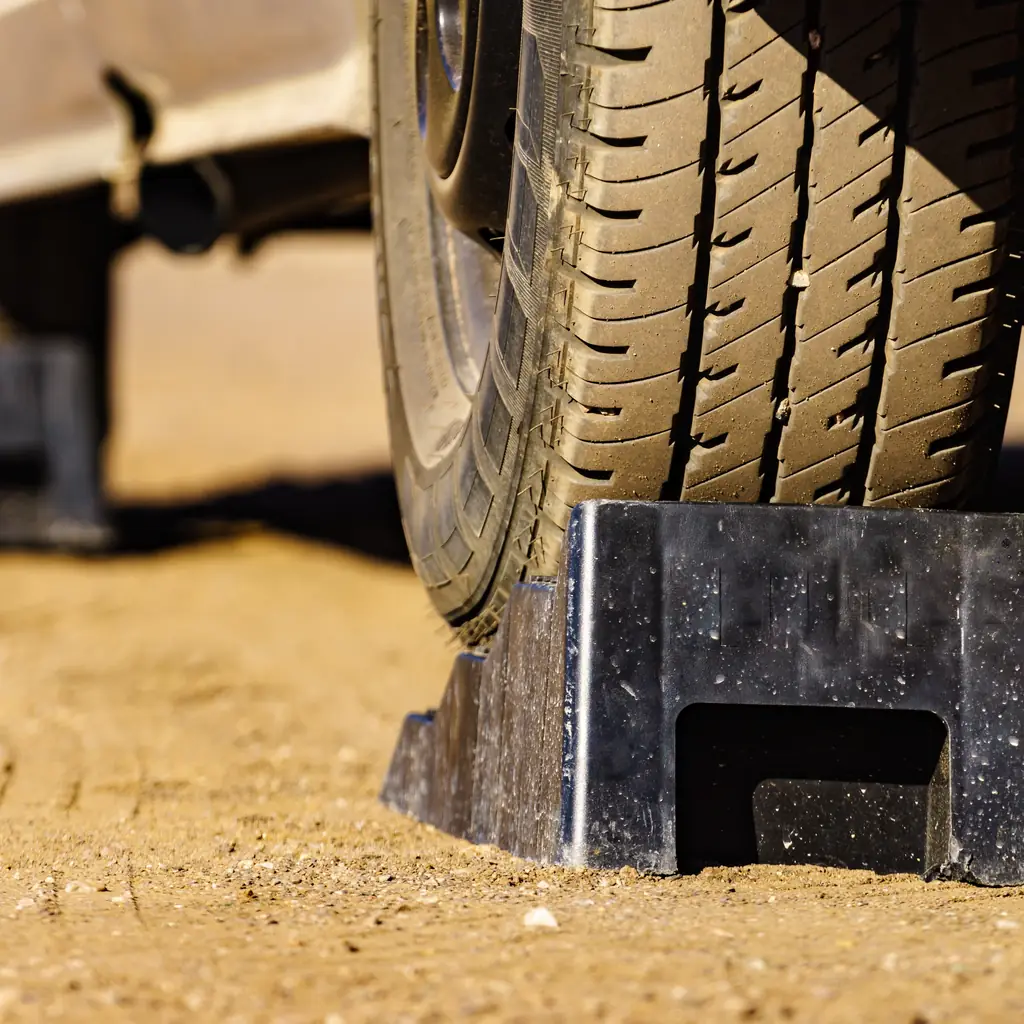
A trailer can move as tongue weight comes off the hitch, even when the campsite looks almost flat. Proper wheel chocks create a physical stop before the tow vehicle releases the trailer.
Place the chocks on the correct sides for the slope and seat them firmly against the tires. Do this before disconnecting safety chains or lifting the coupler.
Light plastic wedges can slide on gravel. Use equipment rated for the weight and conditions of your trailer.
15. Level First and Stabilize Second
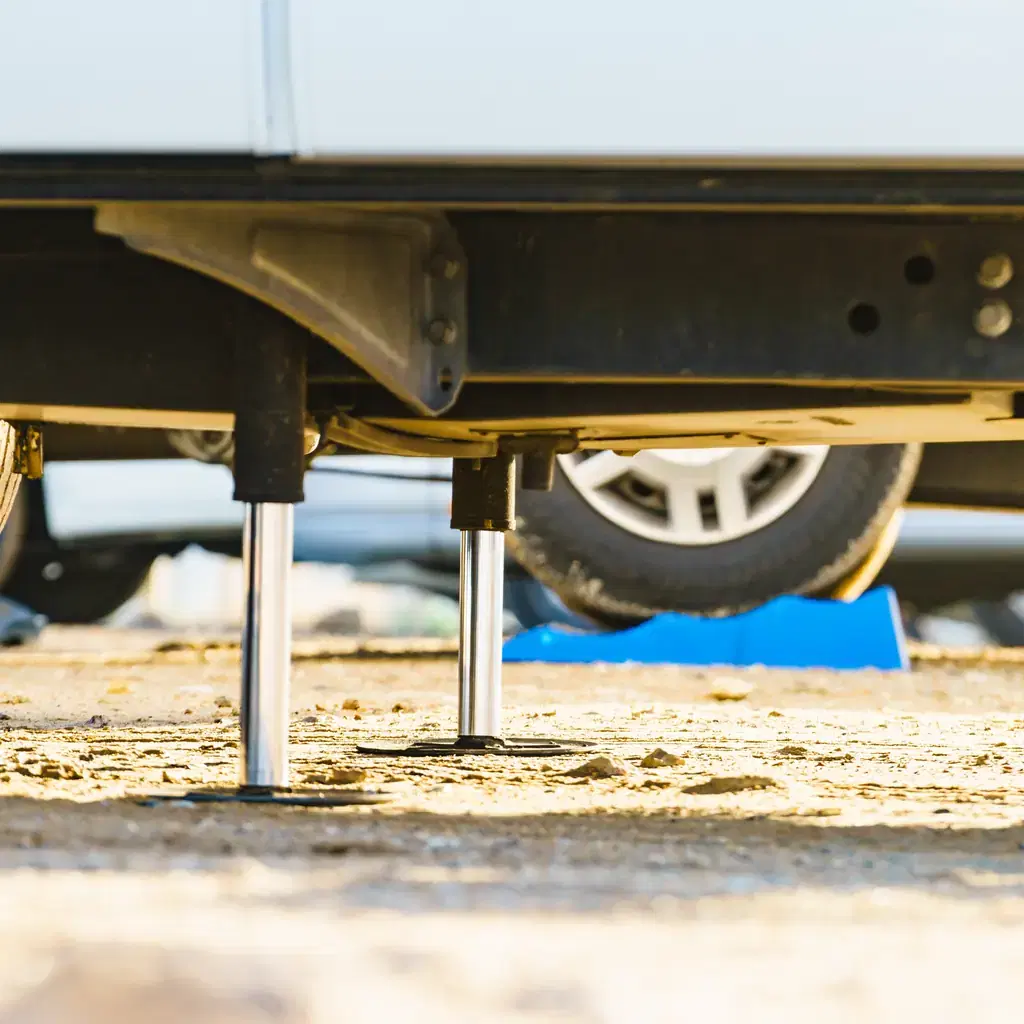
Leveling blocks change the height of the wheels. Stabilizer jacks reduce movement after the RV is level. Confusing those jobs can twist a frame or overload equipment that was not designed to lift the trailer.
Level side to side before unhitching, then level front to back with the tongue jack. Deploy stabilizers only after the main position is correct.
The refrigerator, slide mechanisms, doors, and sleep all benefit from a properly leveled rig.
14. Inspect the Electrical Pedestal Before Plugging In
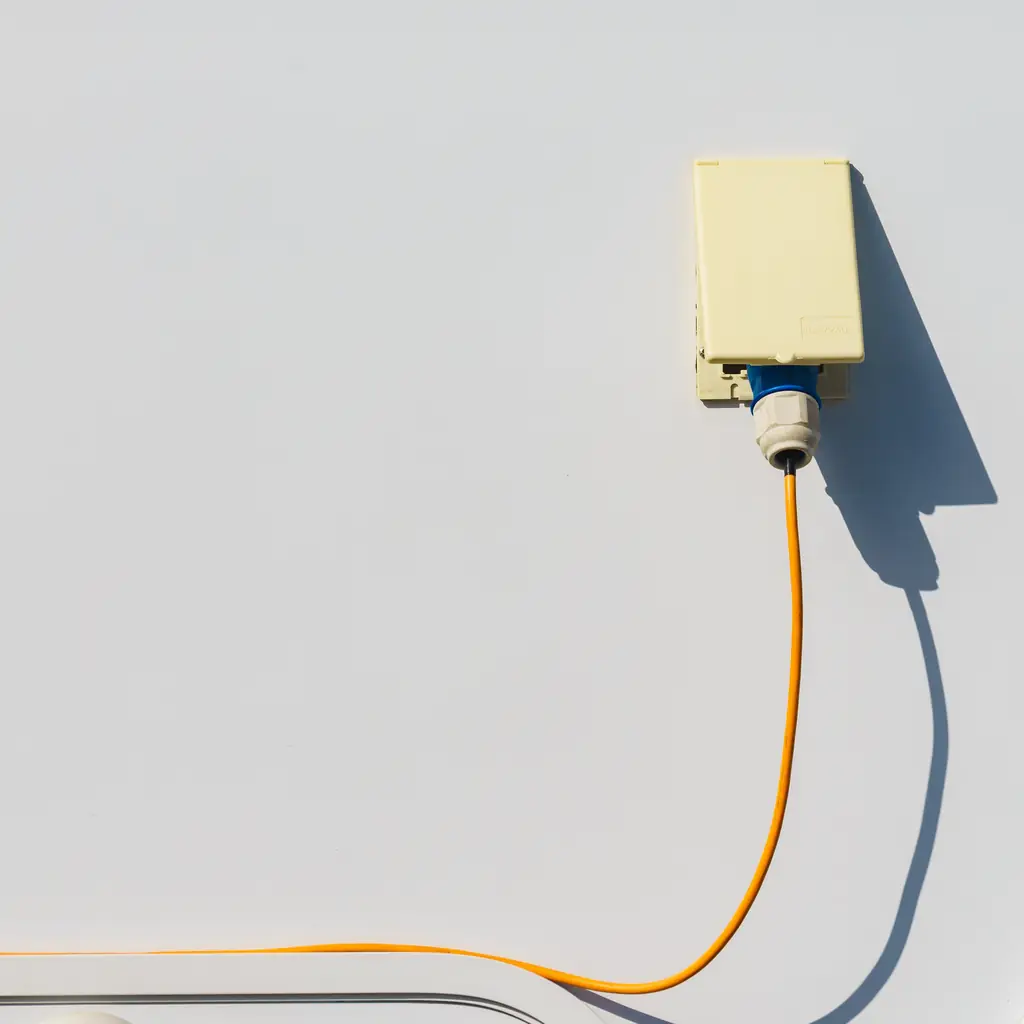
Cracked receptacles, scorch marks, loose covers, and insect nests are reasons to stop before connecting shore power. Switch the pedestal breaker off before inserting or removing the plug.
A circuit analyzer and an RV surge protector can identify some wiring and voltage problems. They do not make damaged hardware safe.
Electrical caution belongs on the same pre-trip list as the other big checks travelers should make early. Ask campground staff to inspect a questionable pedestal.
13. Use a Water Pressure Regulator
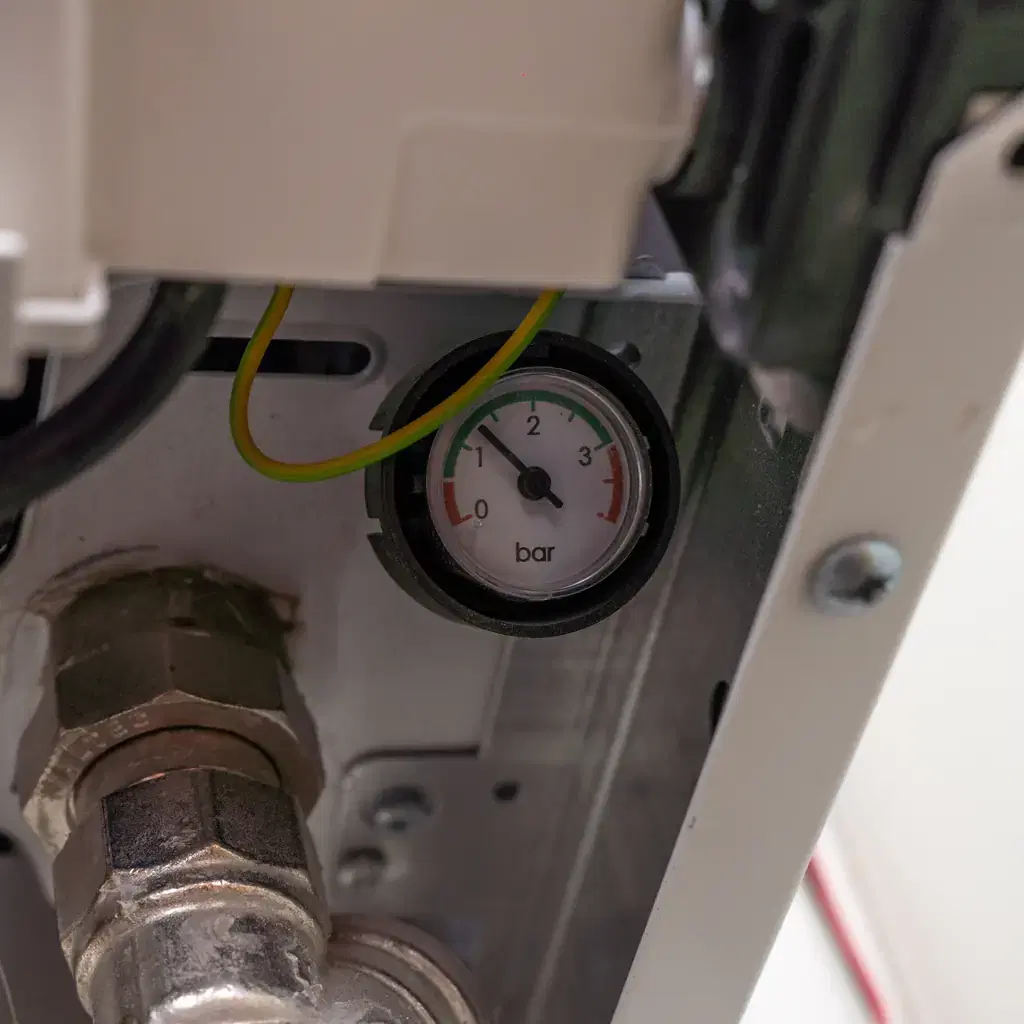
Campground water pressure can vary from one property to the next. Pressure that is normal for a building can strain an RV’s lighter plumbing, fittings, and filter housings.
Connect a regulator at the spigot before the drinking-water hose. A small pressure gauge makes the setting visible instead of leaving the owner to guess.
Keep the freshwater hose and fittings in a clean bin. Never store them against sewer equipment, gloves, or a damp hose support.
12. Keep Every Hose and Cable Inside the Site
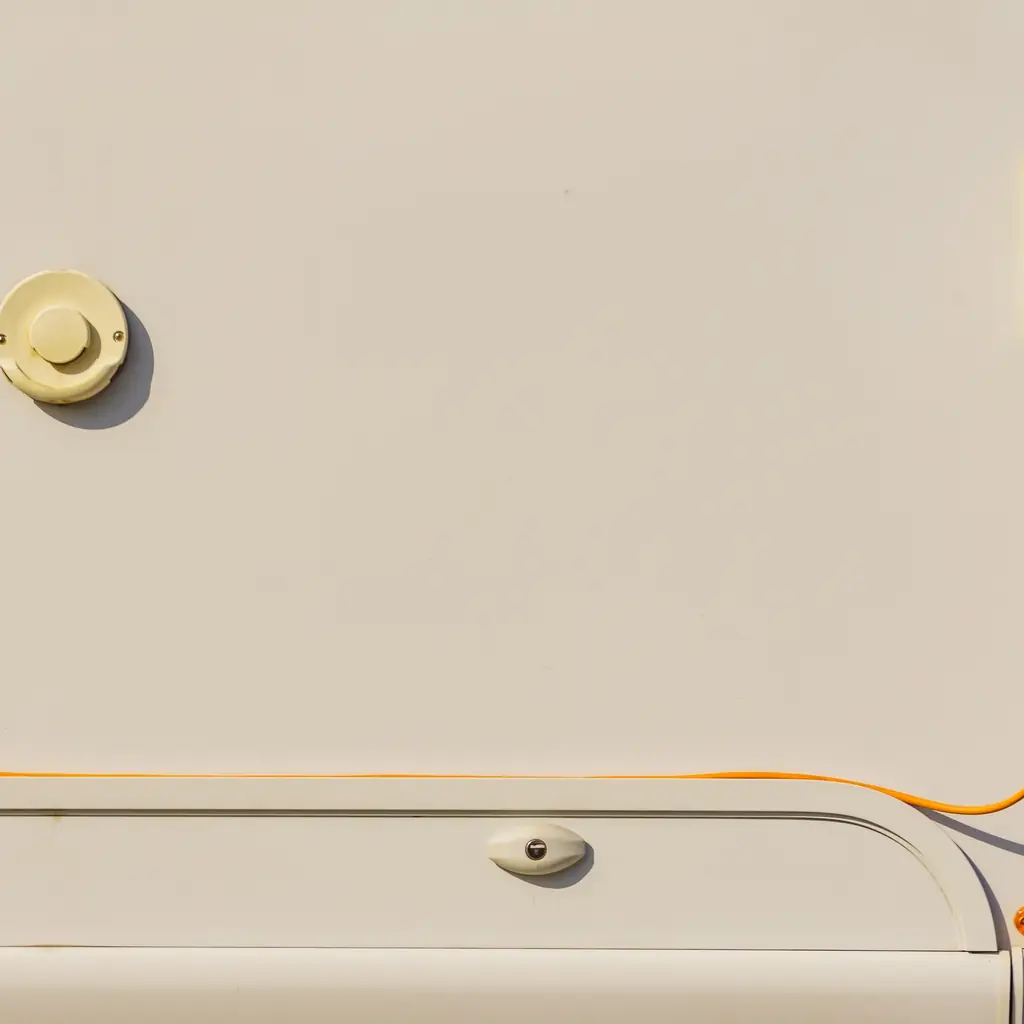
An extension cord or hose stretched across a shared path becomes a trip hazard. A cable pushed into the road can be crushed by a truck tire or caught by campground equipment.
Route utilities close to the RV and remove loose coils from walking areas. Bright covers can make unavoidable runs easier to see after dark.
Good routing also leaves the loop clear for neighbors heading toward scenic drives where stopping often improves the trip.
11. Treat the Sewer Connection as a Clean Job
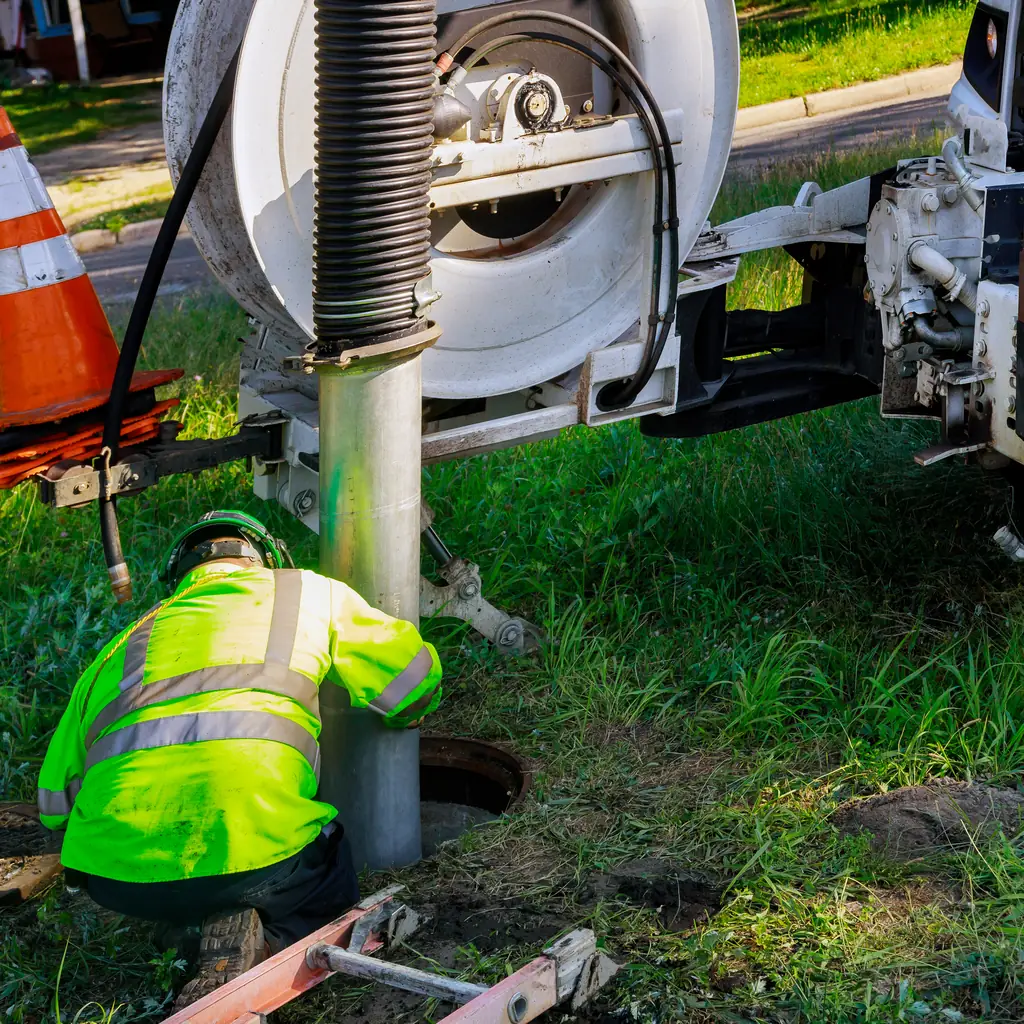
The sewer hose should connect securely at both ends and slope toward the inlet without crossing a walkway. Use the campground’s approved adapter rather than balancing a loose hose over an opening.
Wear dedicated gloves, close the valves before changing connections, and disinfect the work area afterward. Keep sewer parts in their own container.
At the dump station, prepare caps and fittings before pulling forward. A tidy sequence moves the line faster and reduces spills.
10. Keep the Black-Tank Valve Closed Until Dumping
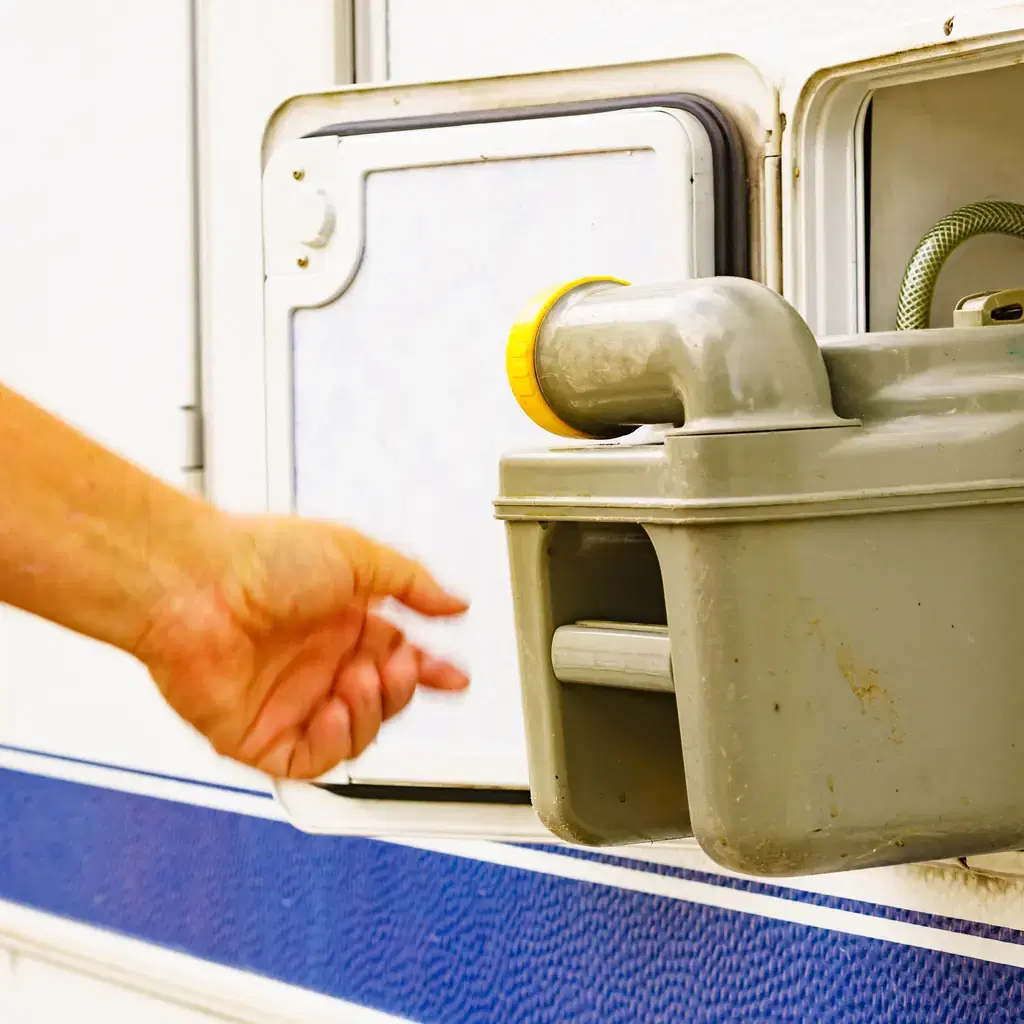
Leaving the black-tank valve open at a full-hookup site lets liquid drain while solids remain behind. The result can be a dry, stubborn buildup inside the tank.
Keep the valve closed so the tank holds enough liquid to carry waste out during a dump. Empty the black tank first, then use gray water to rinse the shared hose.
Tank systems differ, so follow the manufacturer’s instructions and never add a chemical that the campground prohibits.
9. Retract the Awning Before Wind Becomes a Debate
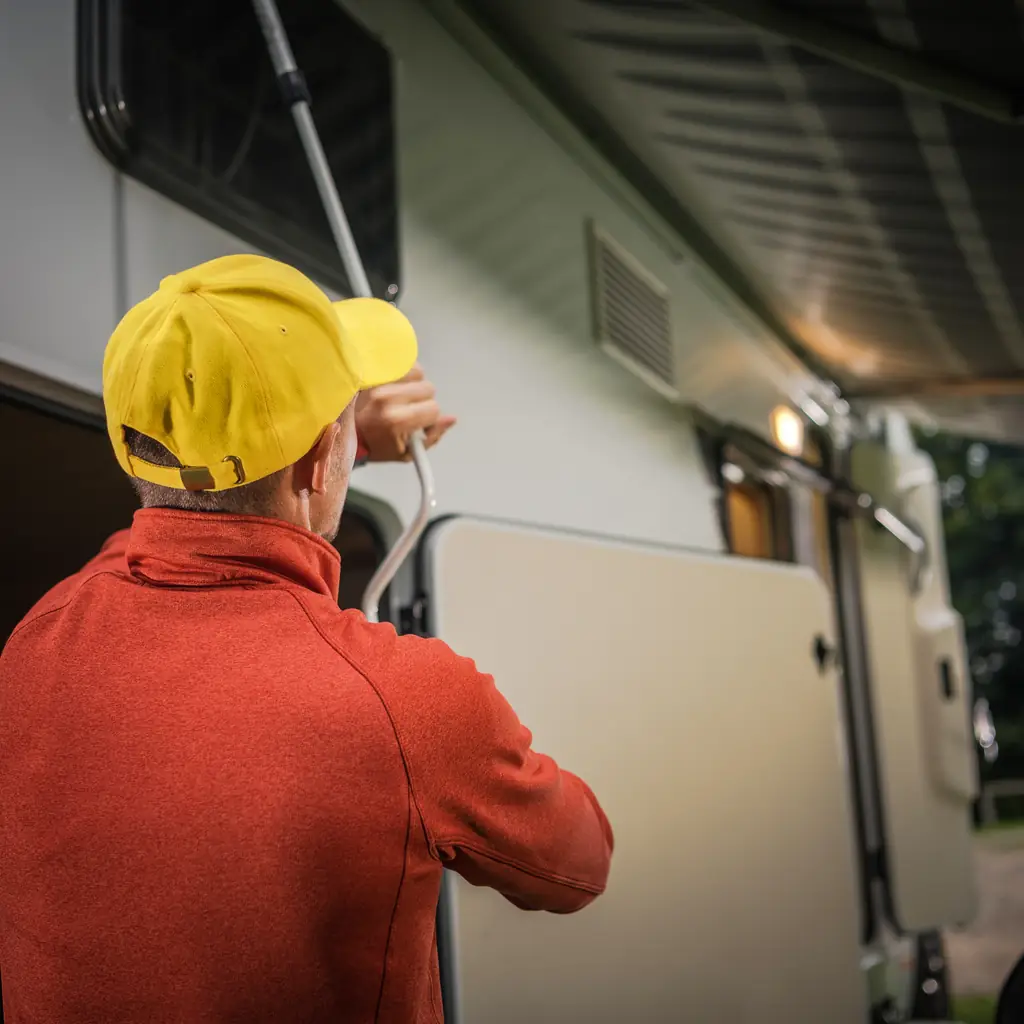
An awning creates a wide lever against the side of an RV. A calm afternoon can turn gusty while the owners hike, eat, or sleep.
Retract the awning before leaving the site and whenever wind starts lifting the fabric. Tie-downs do not make every awning stormproof.
This cautious habit matters on open coastal sites, including stops near coastal small towns that are still worth the drive, where weather can change quickly.
8. Learn Generator Hours Before Reaching for the Switch
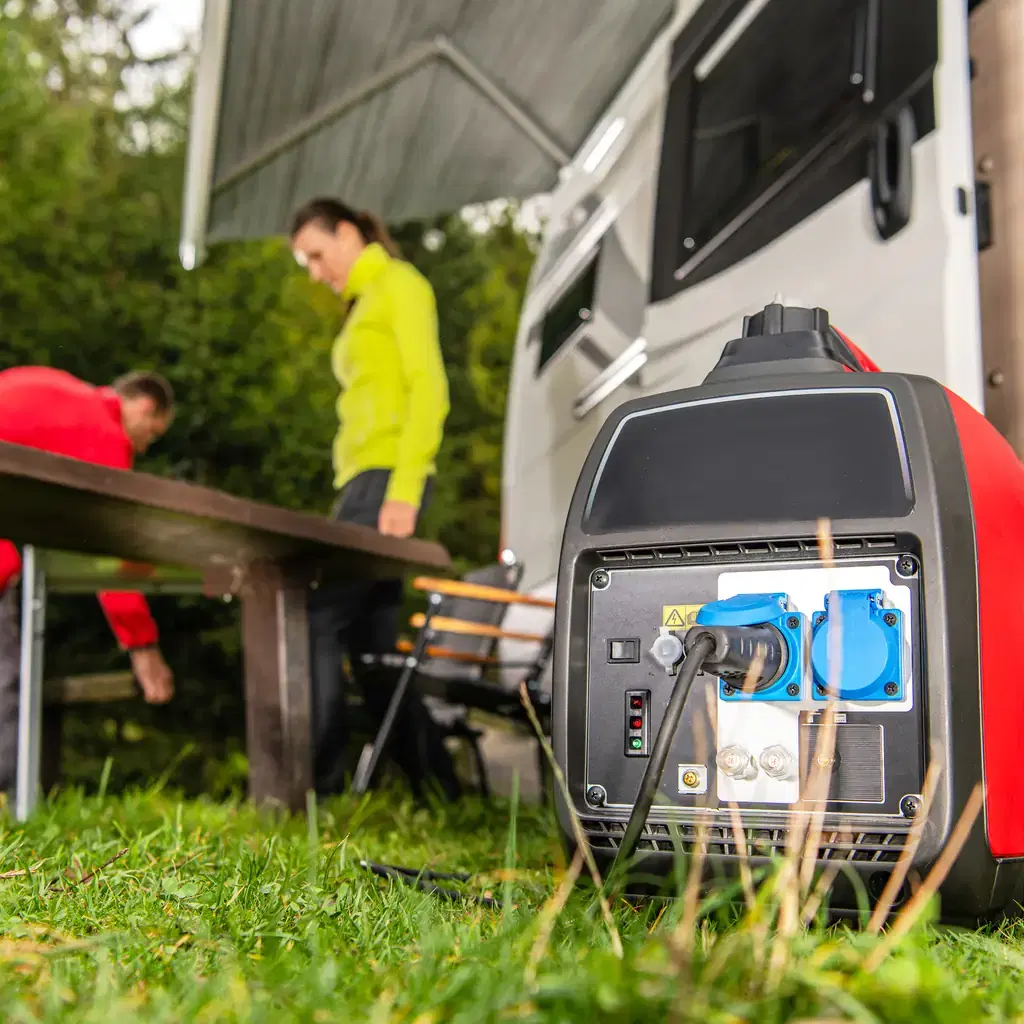
Quiet hours do not always match generator hours. Some national park campgrounds permit generators only during short morning, midday, and evening windows.
Read the posted rules rather than copying what a nearby camper does. Point exhaust away from people, tents, windows, and neighboring sites. Never run a generator in an enclosed compartment that is not designed for it.
Charge batteries during the permitted window, then let the campground become quiet again.
7. Turn Decorative Lights Down After Dinner
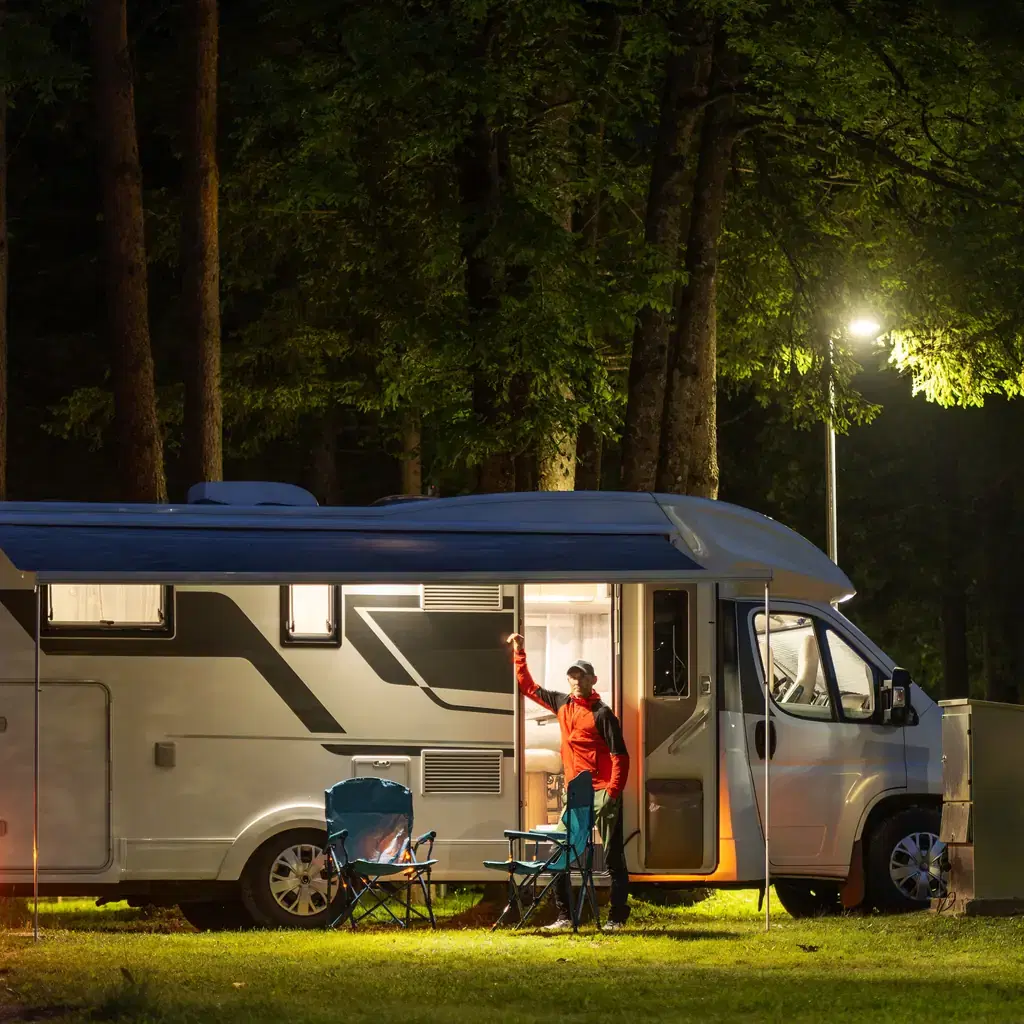
Bright LED strips can light a neighbor’s bedroom as effectively as they light a picnic table. Flashing colors also change the experience for campers who came to see stars and wildlife.
Use warm, downward-facing light at the lowest useful level. Switch decorative lights off when the group goes inside.
The same restraint makes an overnight stop feel calmer than a busy attraction. Travelers seeking quieter routes may also enjoy these scenic train rides booked for the view.
6. Manage Pets as Campers, Not Yard Dogs

Campgrounds place unfamiliar dogs, children, bicycles, wildlife, and food smells close together. A dog that behaves perfectly at home can become alert or anxious in that mix.
Keep the leash within the posted limit, pick up waste promptly, and do not leave a pet tied outside unattended. Move the water bowl and food inside when they are not in use.
Check trail and heat rules before planning the day, especially when the RV will sit in direct sun.
5. Store Food as if Wildlife Will Find It

Wildlife does not separate a steak from toothpaste, sunscreen, pet food, or a greasy grill tool. Scented items left outside can attract raccoons, bears, rodents, or aggressive birds.
Follow the campground’s storage rules and use lockers where provided. Clean the table, grill, and fire ring before bed.
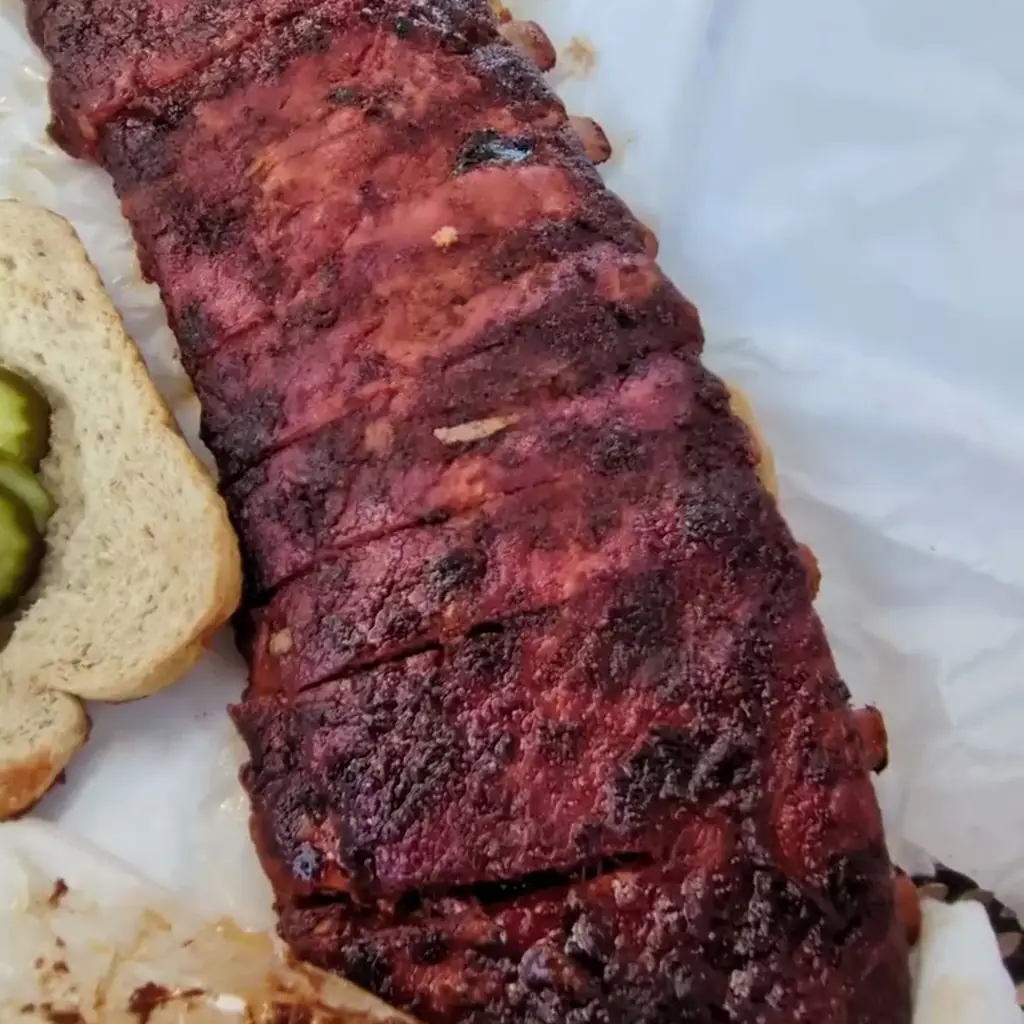
Food can still be part of the route. Plan a daytime stop at one of these Texas BBQ places people argue are worth the drive, then return with a clean campsite.
4. Buy Firewood Near the Campground
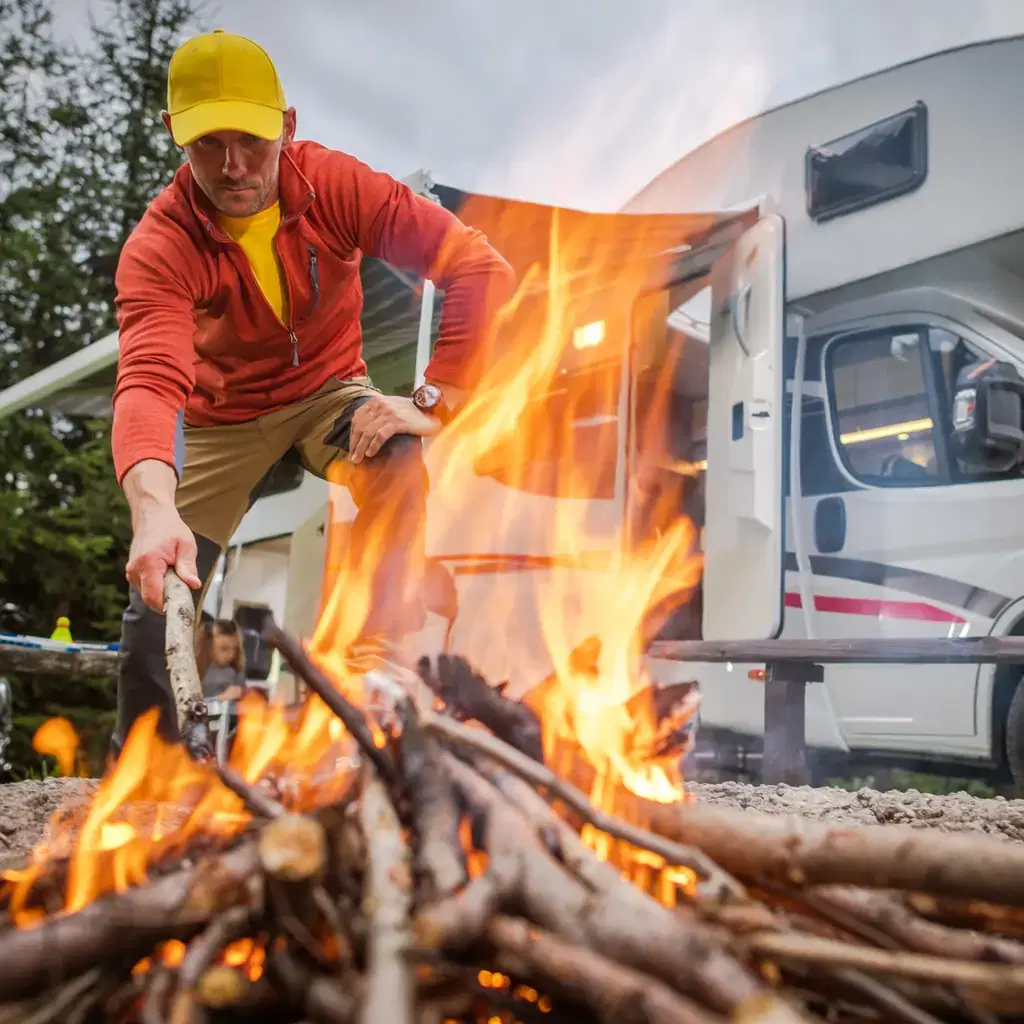
Moving firewood long distances can move insects and disease into a new forest. Many parks ask visitors to buy local, heat-treated, or approved firewood.
Check current fire restrictions before buying a bundle. Use only the provided ring, keep the fire small, and have enough water to drown the coals completely.
Cold ashes can remain after the flames disappear. Stir, soak, and confirm the fire is out before sleeping or leaving.
3. Put Wastewater Only Where the Campground Allows
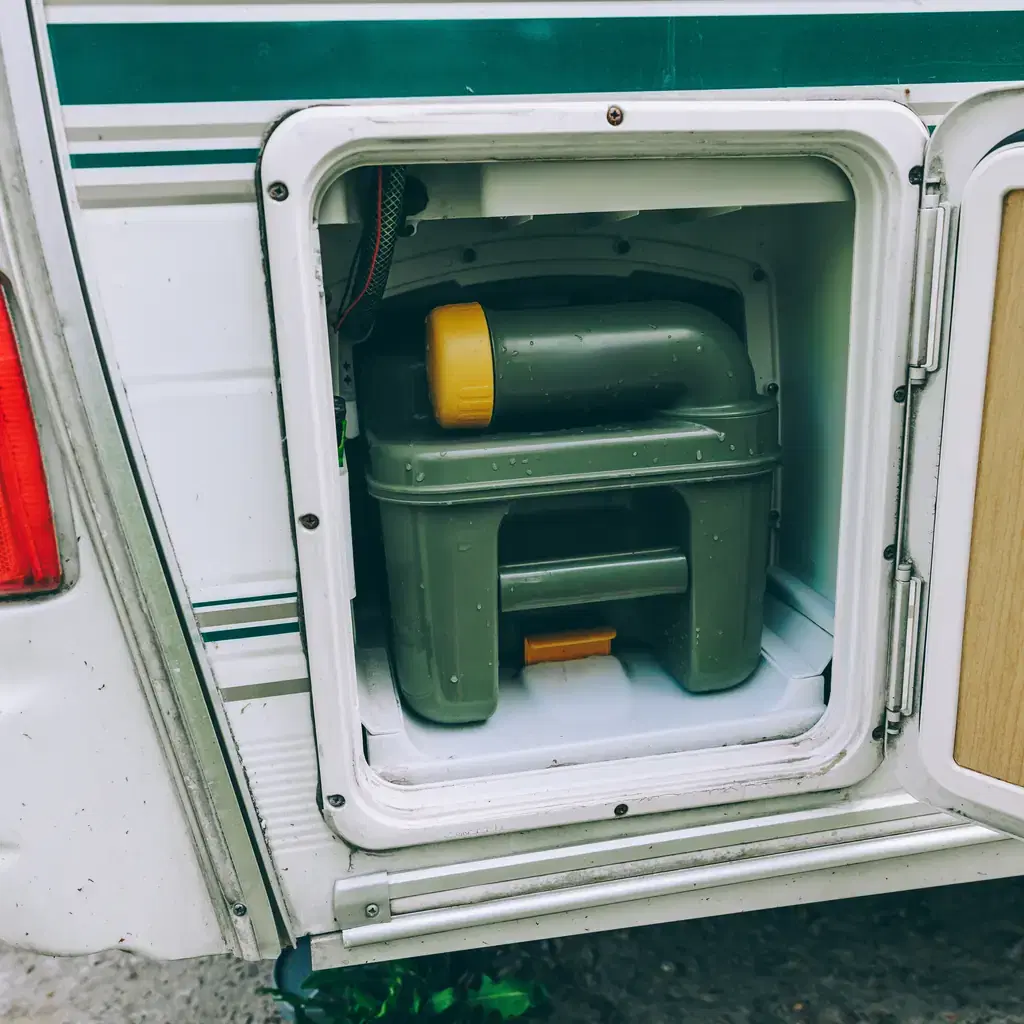
Soapy dishwater and gray water can contain food particles, grease, and scents that attract wildlife. Pouring it onto the ground may also violate campground rules.
Use the designated utility drain, dump station, or approved sewer connection. Never assume a convenient storm drain serves the same purpose.
Campground systems vary widely, just as travel costs do. The comparison mindset used for Florida beach towns retirees can still afford also helps when comparing hookup fees and dump access.
2. Do a Roof-Level Check Before Pulling Out
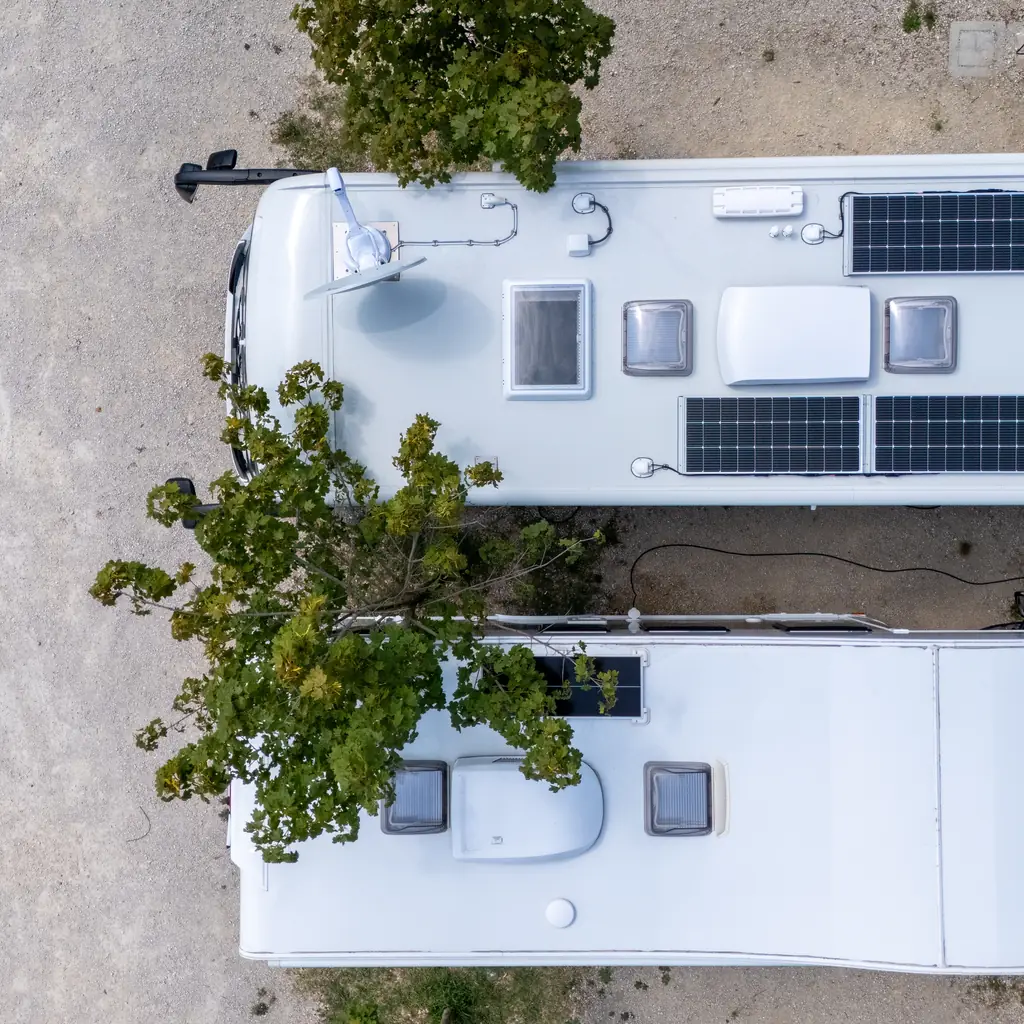
The stabilizers can be up while an antenna, vent cover, awning, or satellite dish remains exposed. These items may not appear in the mirrors once the RV starts moving.
Walk around at ground level and look up from every corner. Confirm that slides are fully seated, steps are retracted, doors are latched, and power and water are disconnected.
Use the same written order every time. Repetition is more reliable than memory during an early departure.
1. Leave the Site Cleaner Than It Looked on Arrival
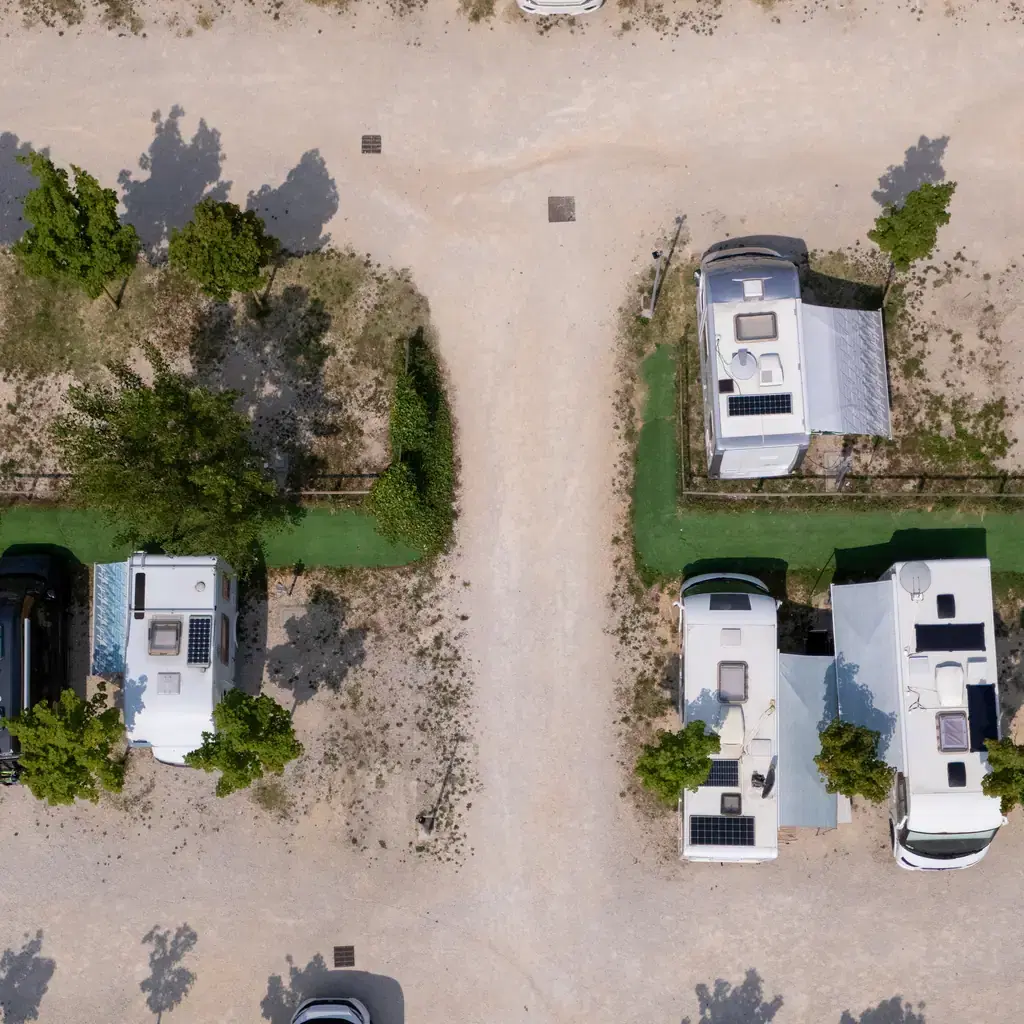
A final slow lap catches leveling blocks, hose caps, tent stakes, dog waste, bottle tops, and food scraps. It can also reveal a fresh leak or a storage door that was not latched.
Take one photo of the clean site before leaving. The picture records the condition and gives the driver a reason to pause before joining the loop.
Then continue the trip, whether the next stop is a public golf course with memorable scenery or another campground with a completely different set of rules.
Comments
The opinions and views expressed in the comments section are solely those of the individual users and do not represent or reflect the opinions, views, or positions of HumbleTrail. HumbleTrail does not endorse, support, or verify the accuracy of any user-generated content.
By posting a comment you agree to receive related emails from HumbleTrail in accordance with our Terms and Privacy Policy. You can unsubscribe at any time.