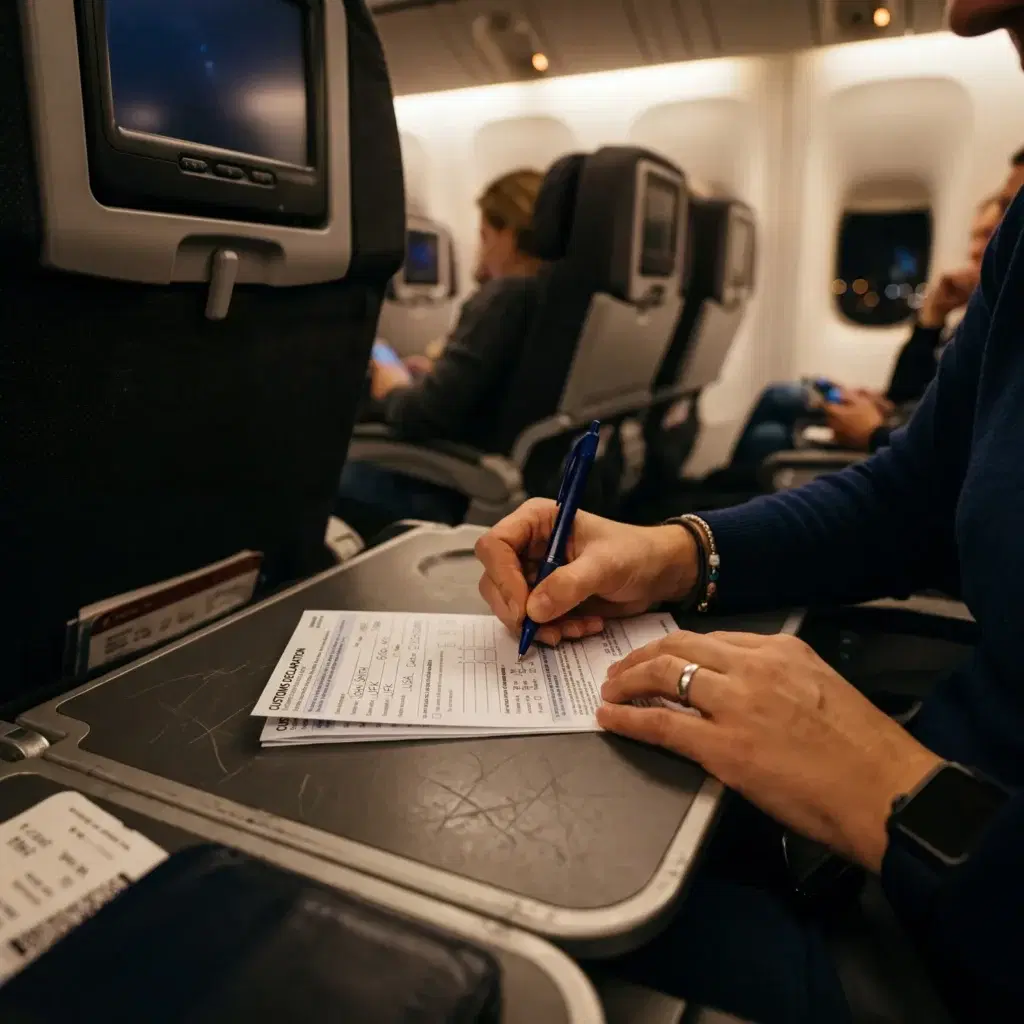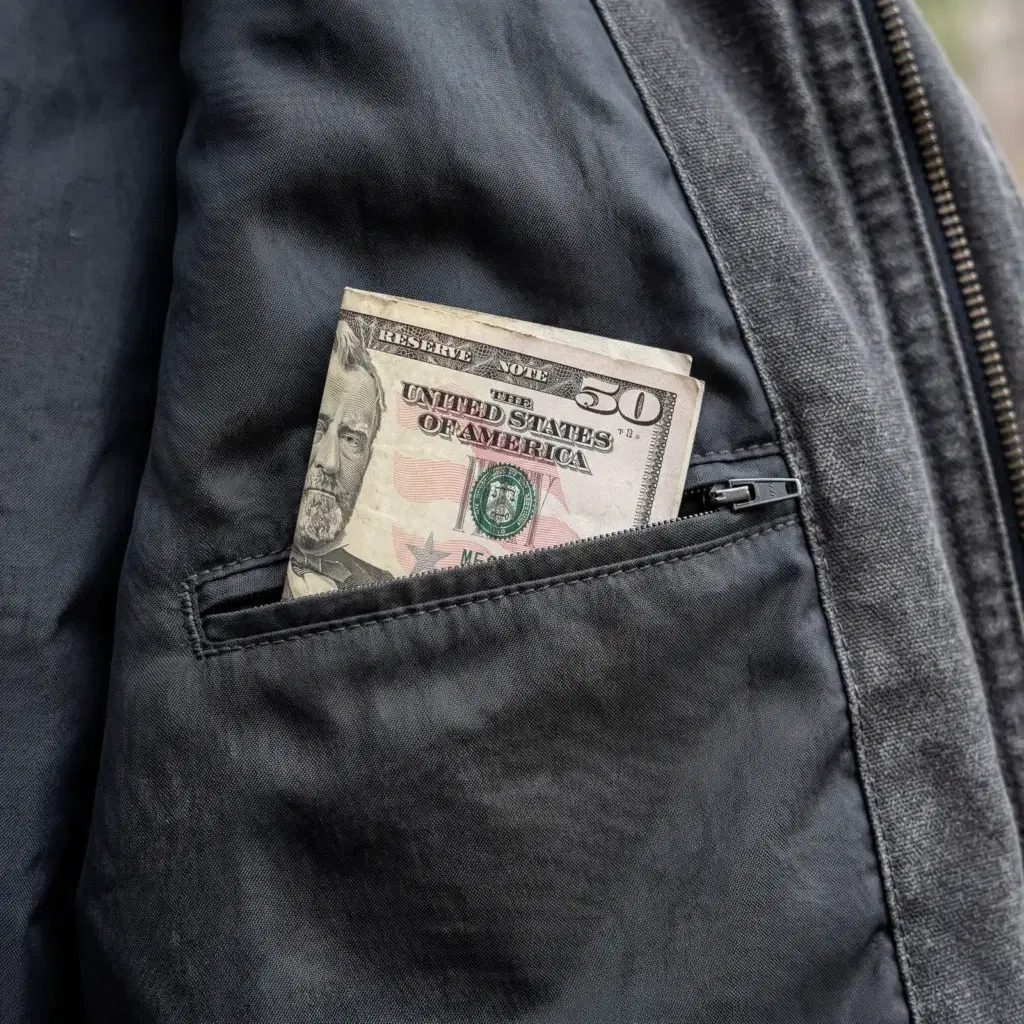


TSA approval does not guarantee that a bag will fit the aircraft or the fare.
These habits prepare a traveler for both security and the boarding gate.
21. Check the Airline That Operates the Flight

A ticket can display one airline’s name while another carrier operates the aircraft. The operating airline usually controls the bag size, weight, and boarding process for that segment.
Open every flight in the itinerary and note the operator. Then read that airline’s current carry-on page rather than relying on a general travel article or an old screenshot.
Repeat the check for the return trip. A partner airline may use a smaller allowance or weigh bags more often.
20. Measure the Wheels, Handle, and Outside Pockets
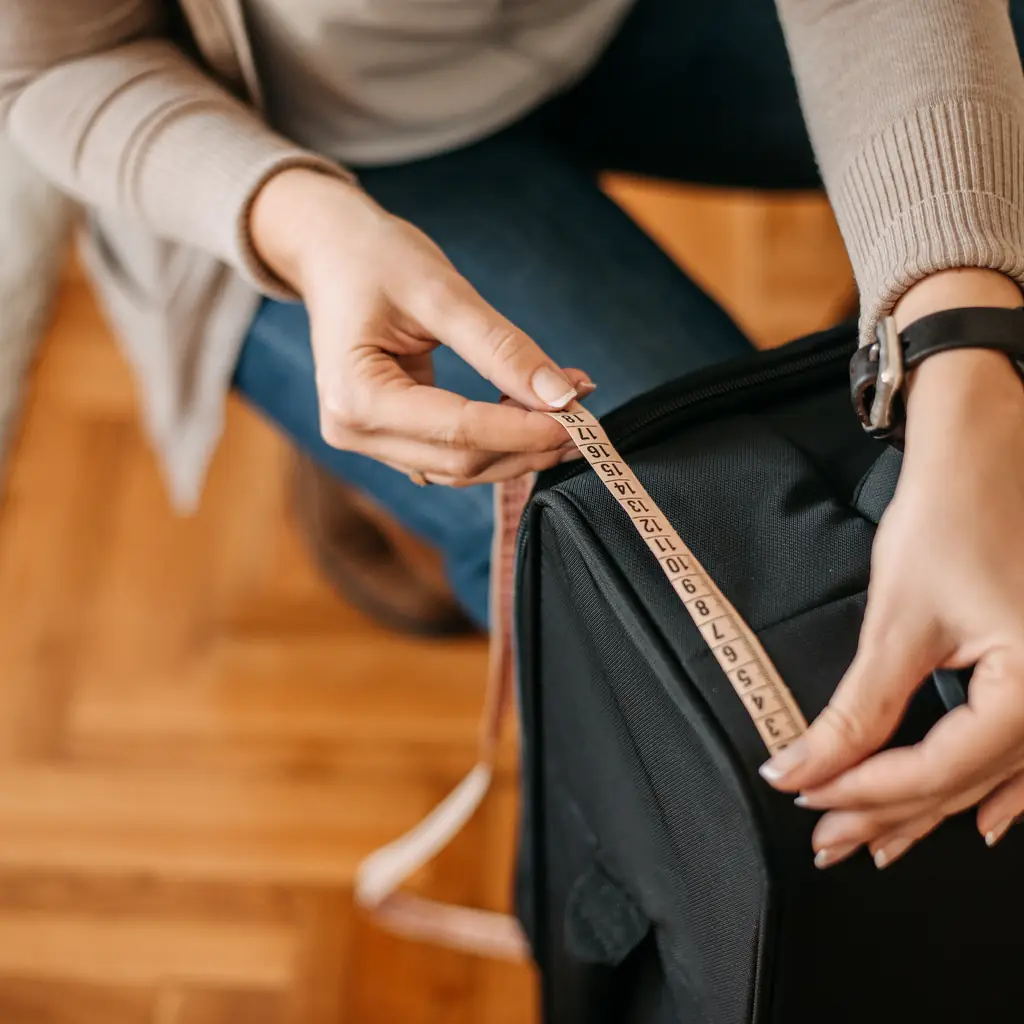
Published bag dimensions normally refer to the complete exterior. Wheels, handles, corner guards, and a stuffed front pocket can push a familiar suitcase beyond the sizer.
Measure height, width, and depth at the widest points after packing. Do not trust the marketing label “carry-on approved” across every airline.
If the bag is close to the limit, remove bulky items before leaving home. Airport repacking adds pressure and rarely creates extra space.
19. Weigh the Bag When the Airline Has a Limit
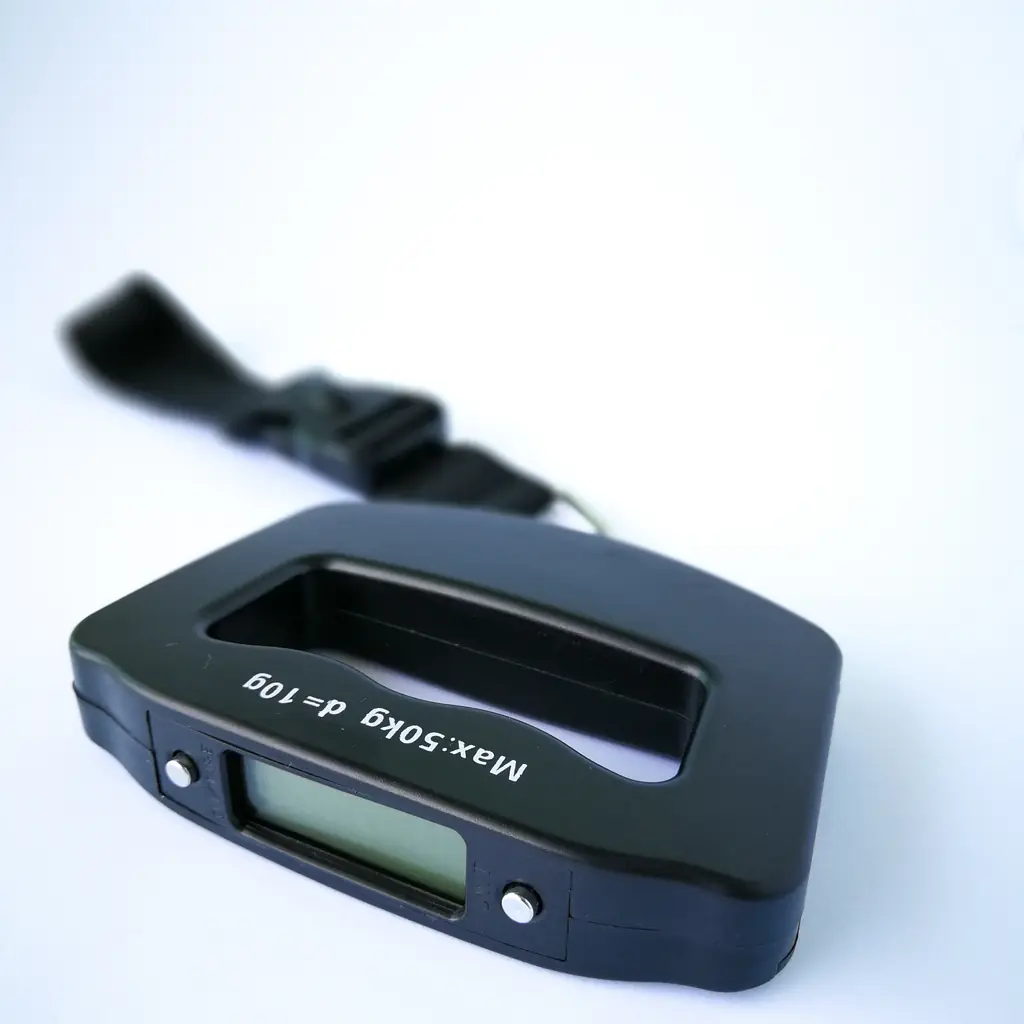
Some U.S. carriers focus on dimensions, while many international airlines also enforce a weight limit. A small roller can exceed that limit after adding a laptop, shoes, and toiletries.
Use a luggage scale with the final packed bag. Leave a little margin for food, paperwork, or a purchase made on the return trip.
If the allowance combines the carry-on and personal item, weigh both together. The airline’s wording determines the useful number.
18. Confirm What the Fare Includes

Basic and discounted fares can treat a full-size carry-on differently from a personal item. Paying for a seat does not always include overhead-bin access.
Read the baggage line on the exact fare confirmation. Note any fee, boarding-group restriction, or route exception before packing around an allowance that is not included.
When a carry-on requires payment, compare that price with a checked bag. The cheaper choice still must protect batteries, medicine, documents, and valuables.
17. Test the Personal Item Under a Real Seat
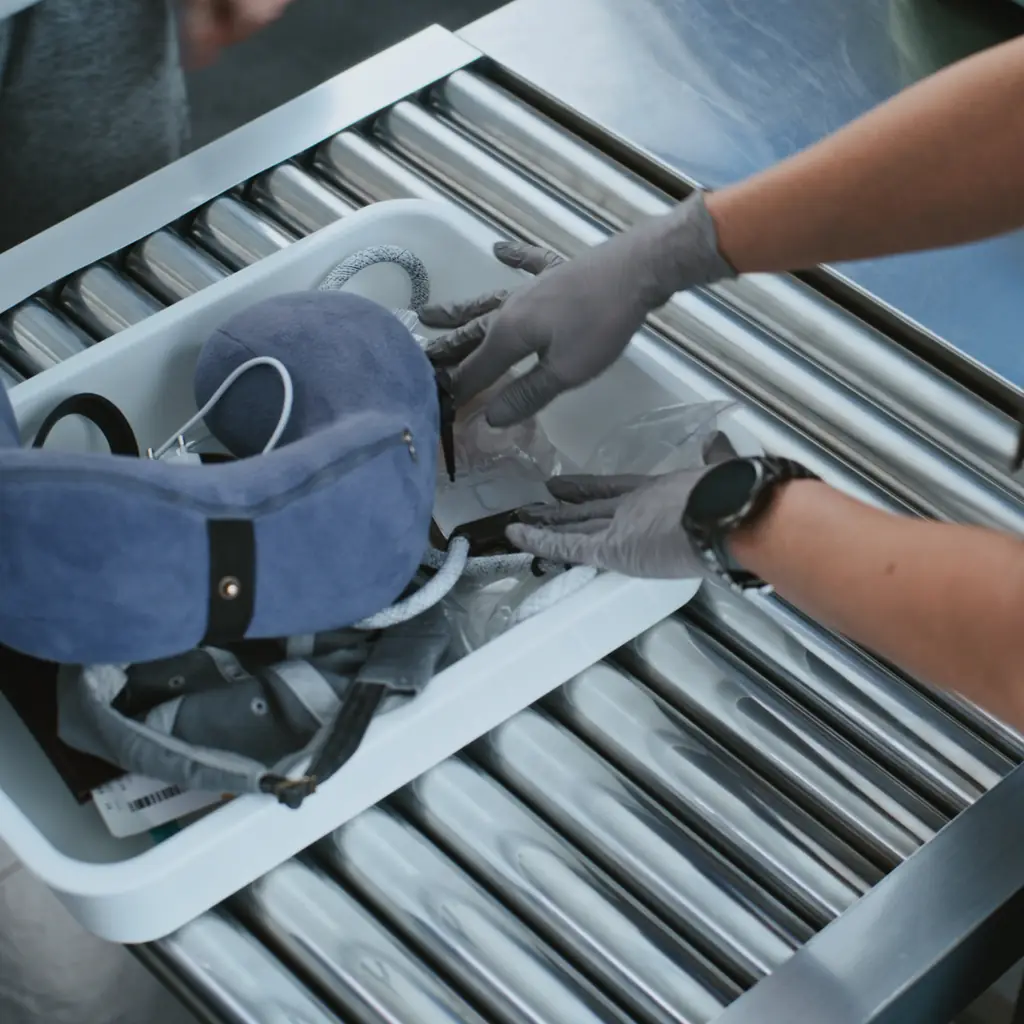
A personal item must usually fit under the seat ahead. A rigid tote that meets a published measurement can still be awkward around seat supports or an entertainment box.
Pack the bag so it compresses slightly and can stand upright without spilling. Keep the top handle accessible for a quick move during boarding.
The under-seat bag should hold the items that cannot be separated from you, because the roller may be gate-checked.
16. Build a Gate-Check Transfer Pouch

A regional jet or full flight can turn an approved roller into checked baggage at the gate. Moving ten loose items while the line waits invites mistakes.
Use one bright pouch for spare batteries, power banks, medicine, keys, documents, and other small essentials. Keep it near the top of the roller.
If the bag must leave the cabin, transfer the pouch to the personal item in one motion and confirm that the luggage tag matches the destination.
15. Keep Power Banks Accessible
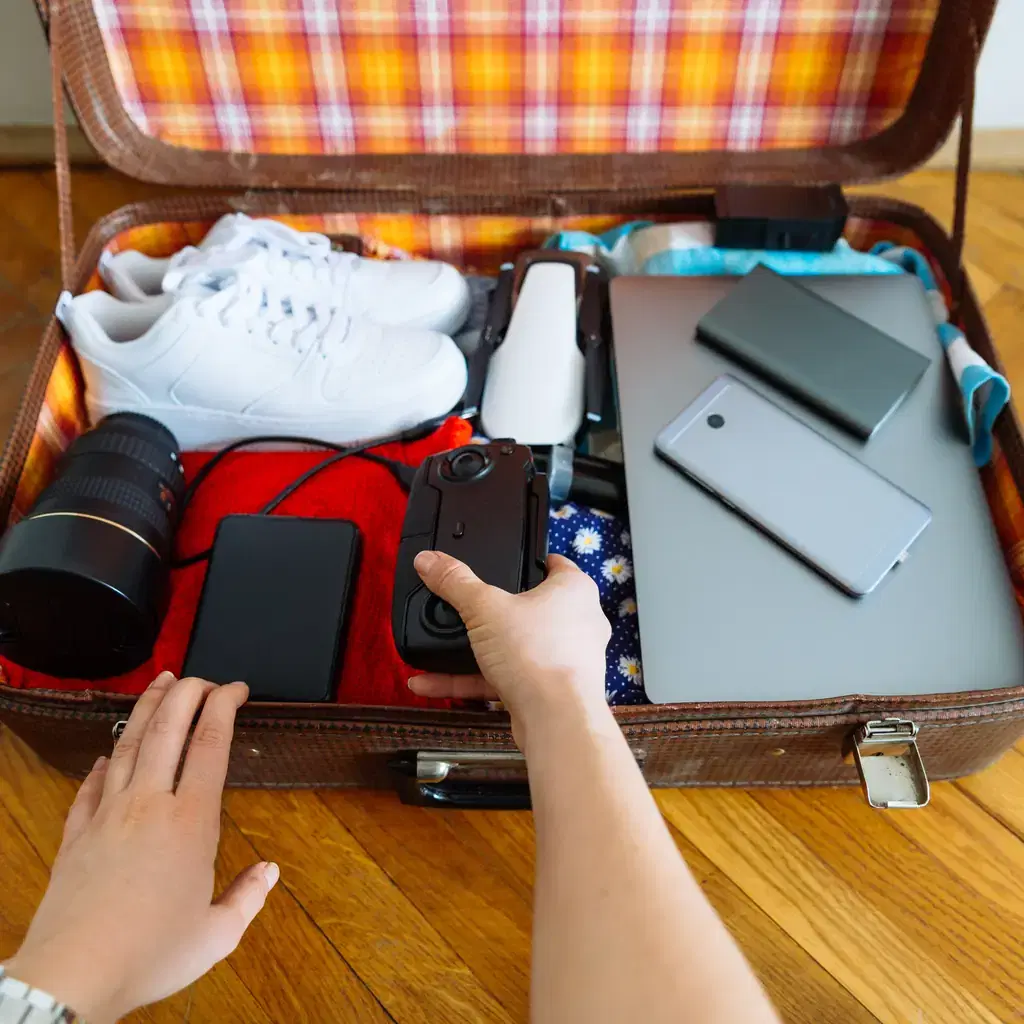
FAA guidance requires spare lithium batteries and power banks to travel in the cabin, not in checked baggage. A power bank buried in a roller becomes a problem when the roller is tagged at the gate.
Store it in the personal item or transfer pouch. Check the watt-hour rating and the airline’s limits before travel.
Do not carry a swollen, damaged, or recalled battery. Protect it from crushing, heat, and contact with metal objects.
14. Protect Spare Battery Terminals
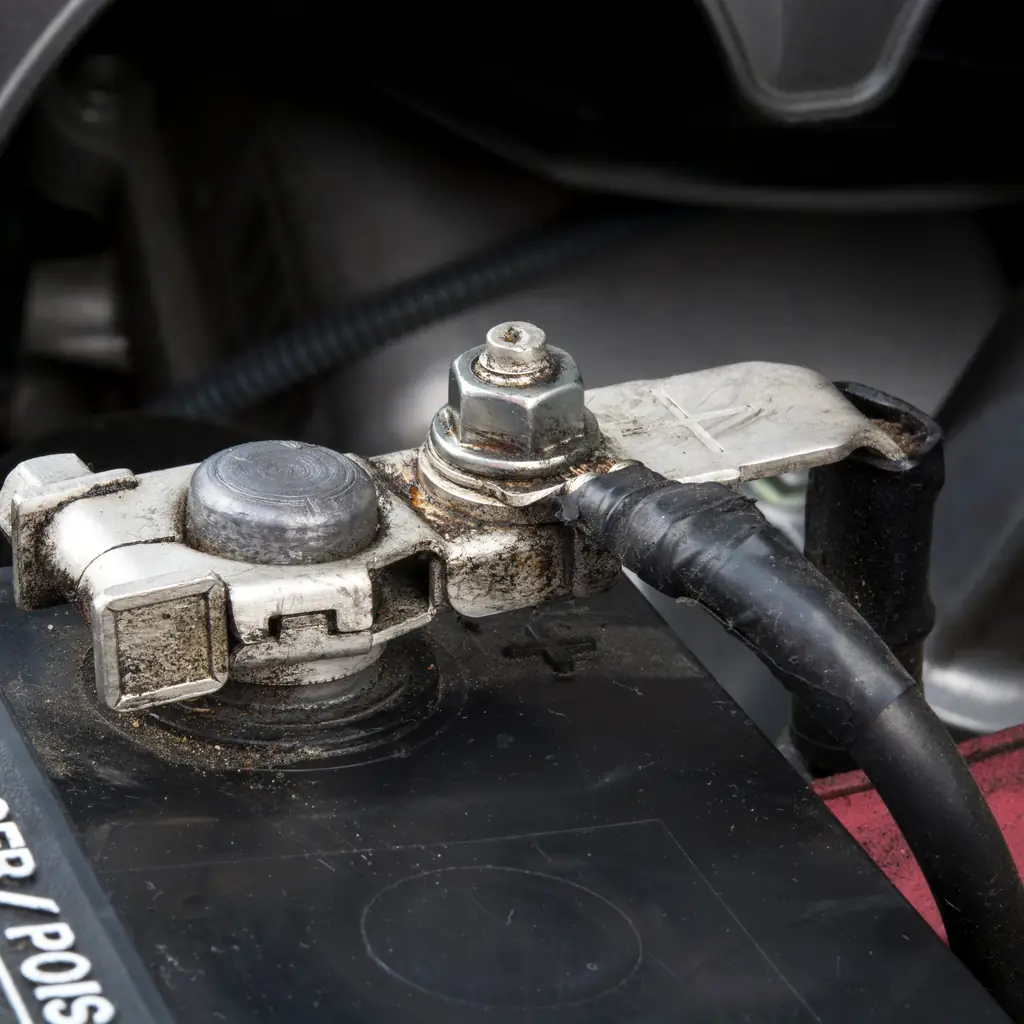
Loose batteries can short-circuit when their terminals touch coins, keys, or each other. Manufacturer packaging, individual sleeves, terminal caps, or nonconductive tape can reduce that risk.
Keep batteries separated and easy to inspect. Do not throw them into the same pocket as a metal charging adapter.
This detail belongs beside the practical items in what experienced international travelers pack, not at the bottom of a crowded bag.
13. Know How the Smart-Bag Battery Comes Out
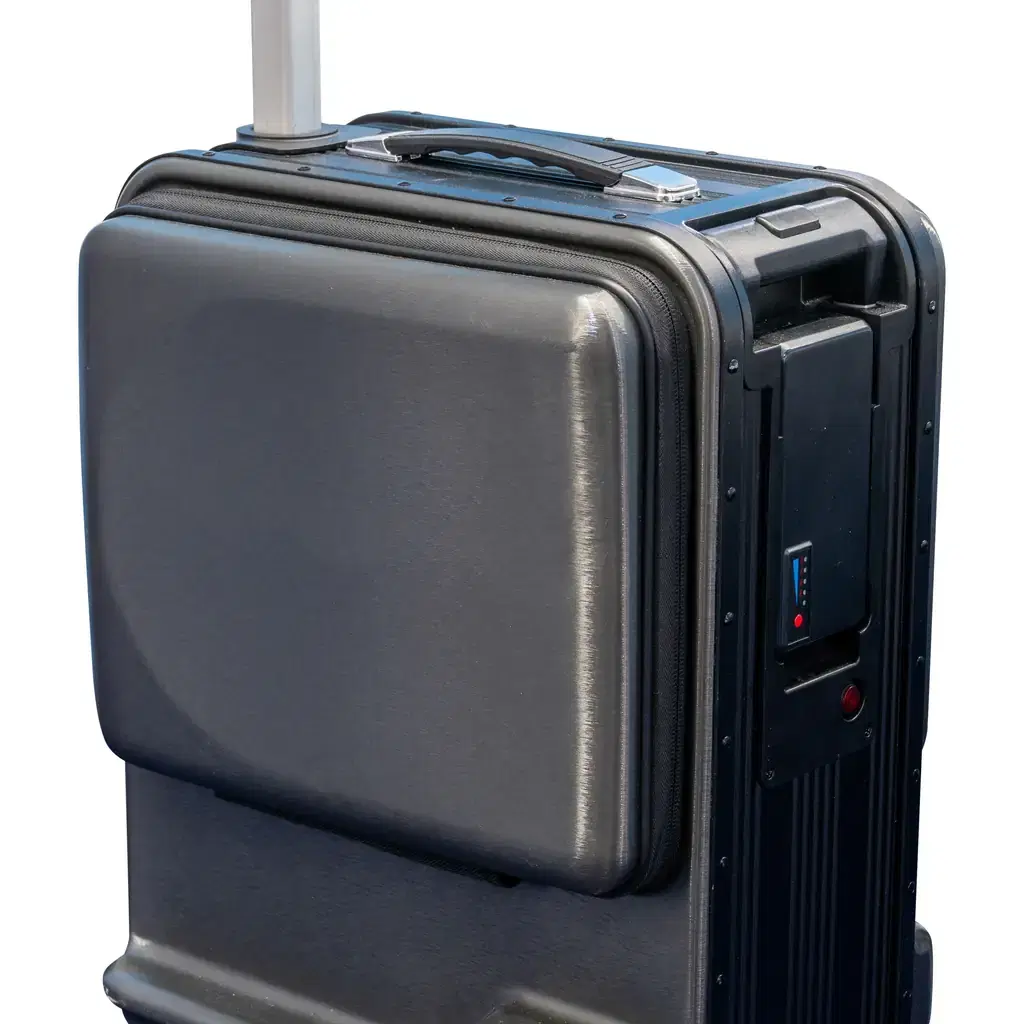
Many smart bags contain batteries for tracking, charging, weighing, or motors. FAA rules can require removal before the bag enters the cargo hold.
Practice removing the battery at home and carry the correct tool if the design needs one. A battery that is technically removable but inaccessible in the boarding line is not useful.
Check the airline policy for trackers and smart luggage. International rules and carrier restrictions can be stricter than a domestic assumption.
12. Carry Medicine in the Personal Item
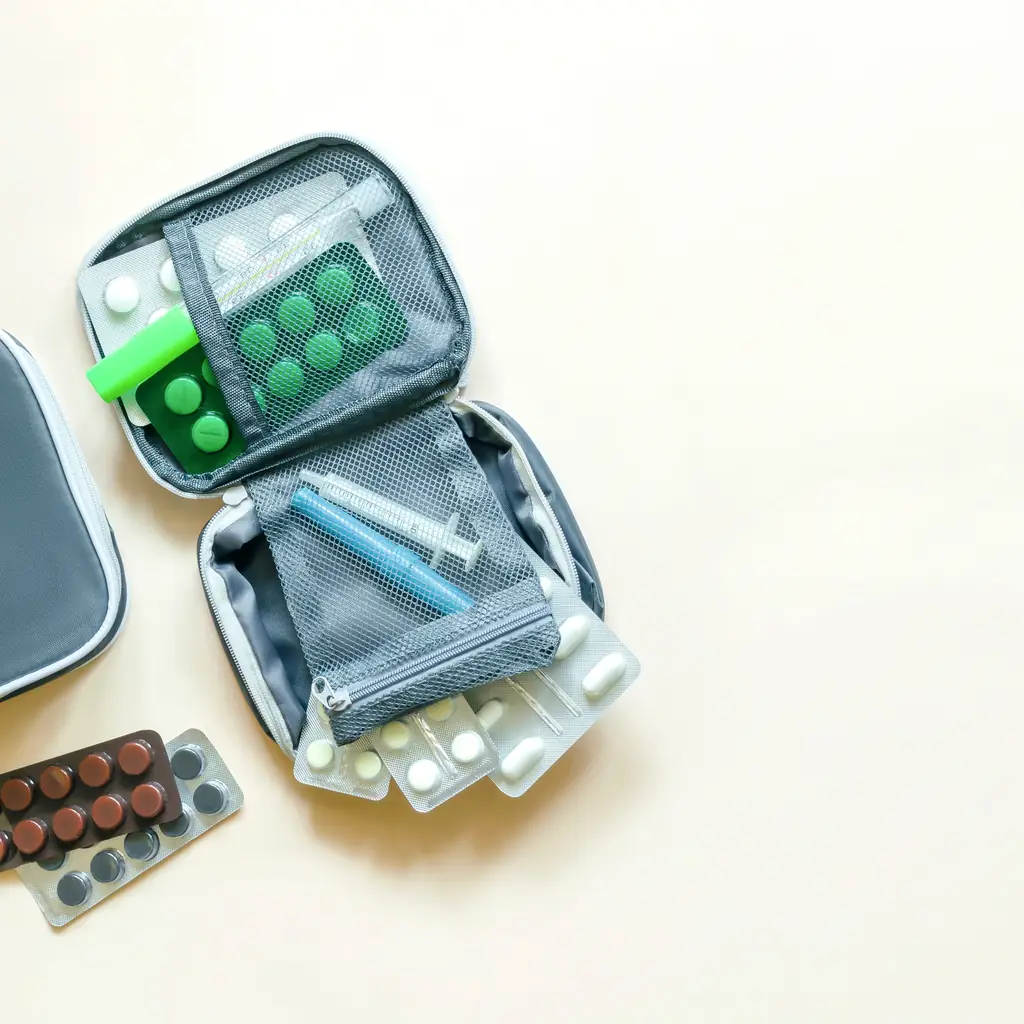
Checked bags can be delayed, misrouted, or inaccessible during a long connection. Keep prescription medicine, dosing supplies, and the first few days of essential treatment with you.
Use original labels when practical and carry documentation for controlled, injectable, or temperature-sensitive medicine. Destination rules can differ, especially across borders.
The same health planning belongs on a pre-cruise checklist when a flight connects to a sailing.
11. Separate Medically Necessary Liquids
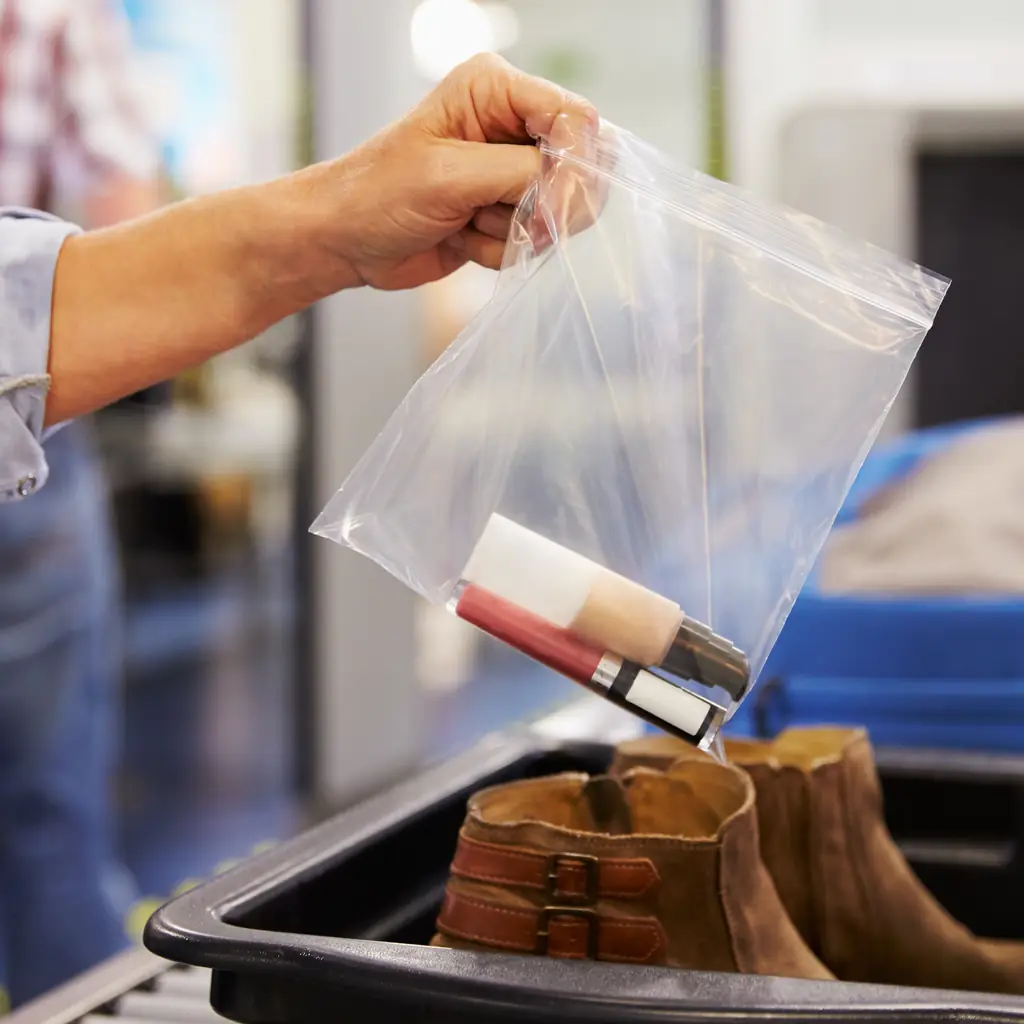
TSA permits medically necessary liquids above the standard 3.4-ounce limit, but the traveler should declare them for screening. They do not need to fit inside the regular quart bag.
Keep the medicine and supporting supplies together where an officer can inspect them without unpacking clothing. Cooling accessories may receive additional screening.
Allow extra time and contact TSA Cares before travel if a medical condition or disability makes the checkpoint difficult.
10. Keep Travel Documents on Your Body
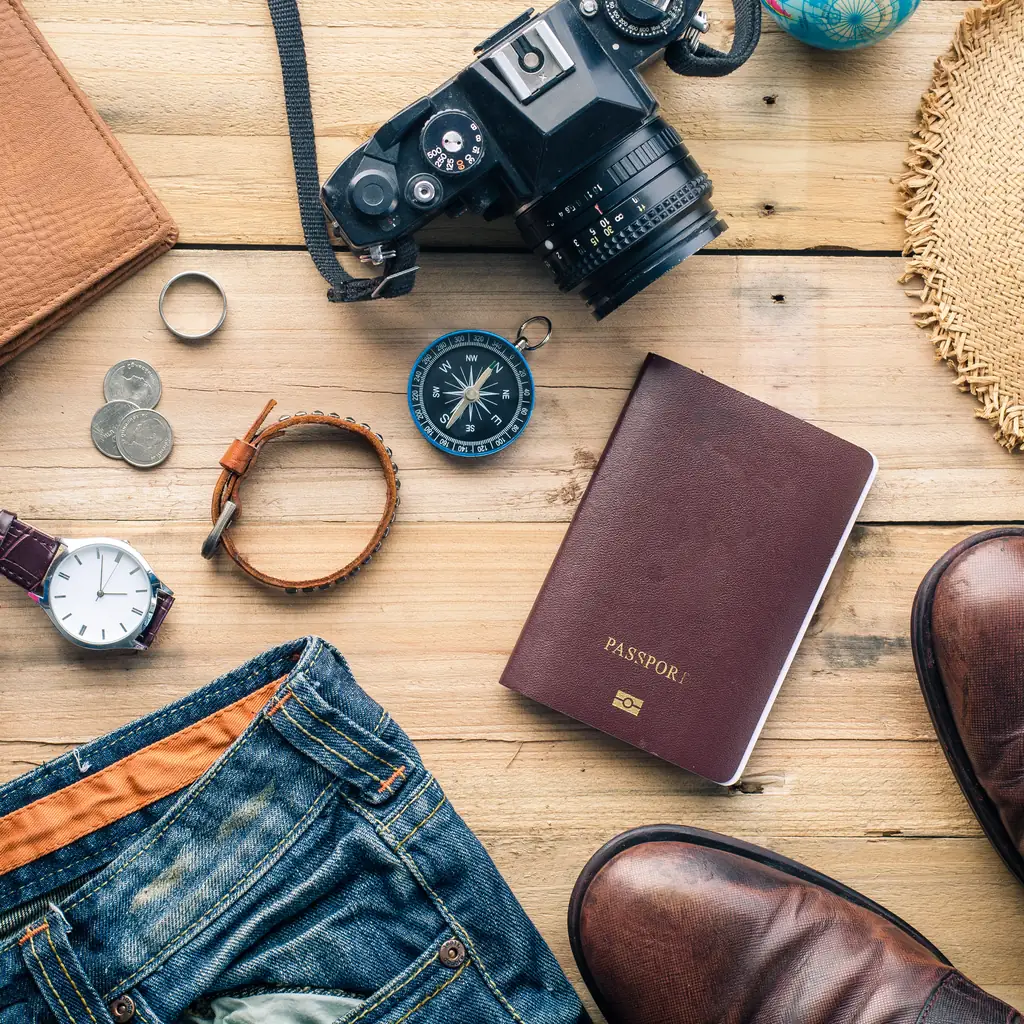
A passport inside an overhead roller is inconvenient when the bag moves several rows away. It becomes worse if the airline takes the bag at the aircraft door.
Use a secure zippered pocket or a small crossbody pouch that remains with you. Return each document to the same place after showing it.
Before a complex trip, pair this habit with a written list of the big checks that should happen early.
9. Photograph the Packed Contents
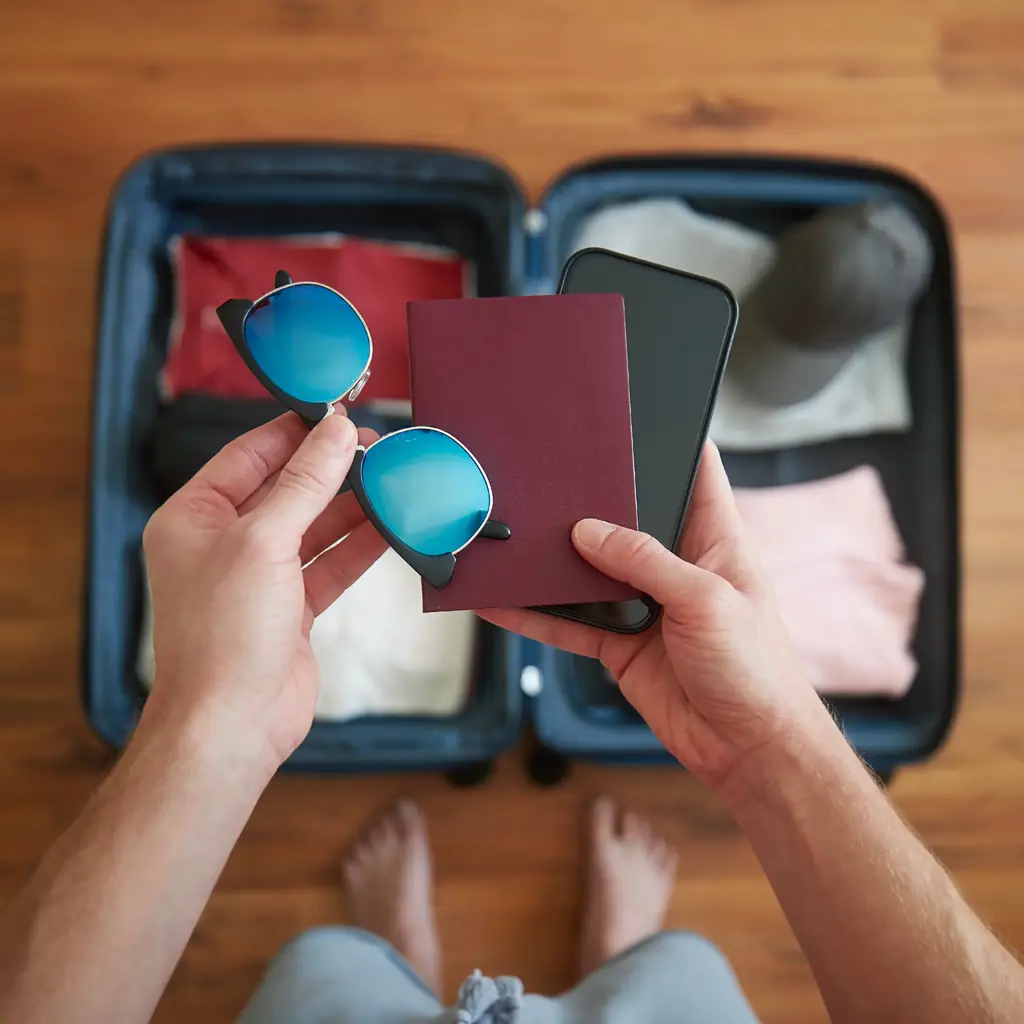
A quick photo records what went into the bag and where expensive items were placed. It can help with a loss report, insurance claim, or simple repacking after security inspection.
Photograph the outside as well, including the luggage tag, color, wheels, and a distinctive strap. Do not expose passport numbers or medicine labels in a cloud-shared image.
Save receipts for high-value gear separately. A picture supports a record but does not replace proof of ownership.
8. Pack One Change of Clothes Where It Stays With You
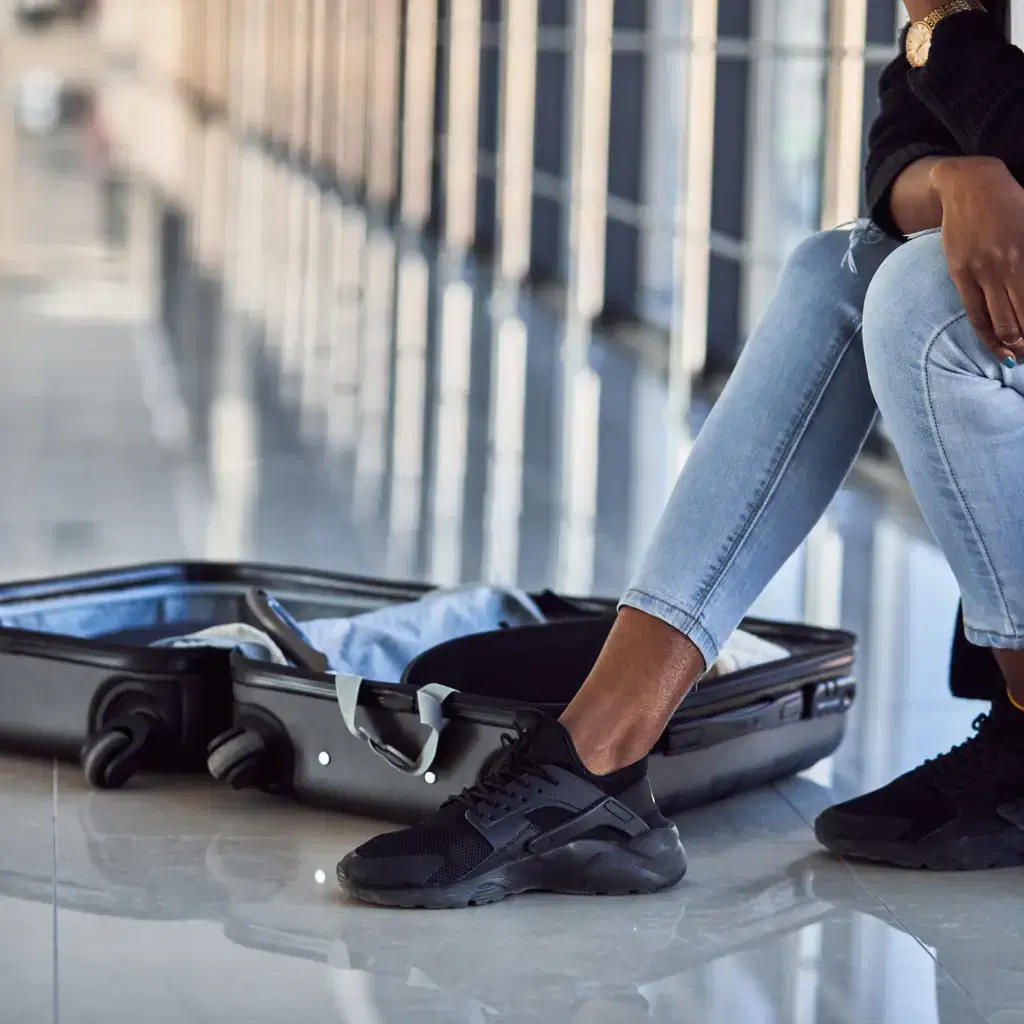
A clean shirt, underwear, and lightweight sleep layer can rescue the first night when checked luggage misses a connection. Choose pieces that work with the shoes already worn.
Keep the change in the personal item, not merely the roller. A full flight may separate the roller from the passenger.
This small backup is especially useful before a property with limited late-night service, including the situations covered by historic hotel booking red flags.
7. Put Valuables Under the Seat
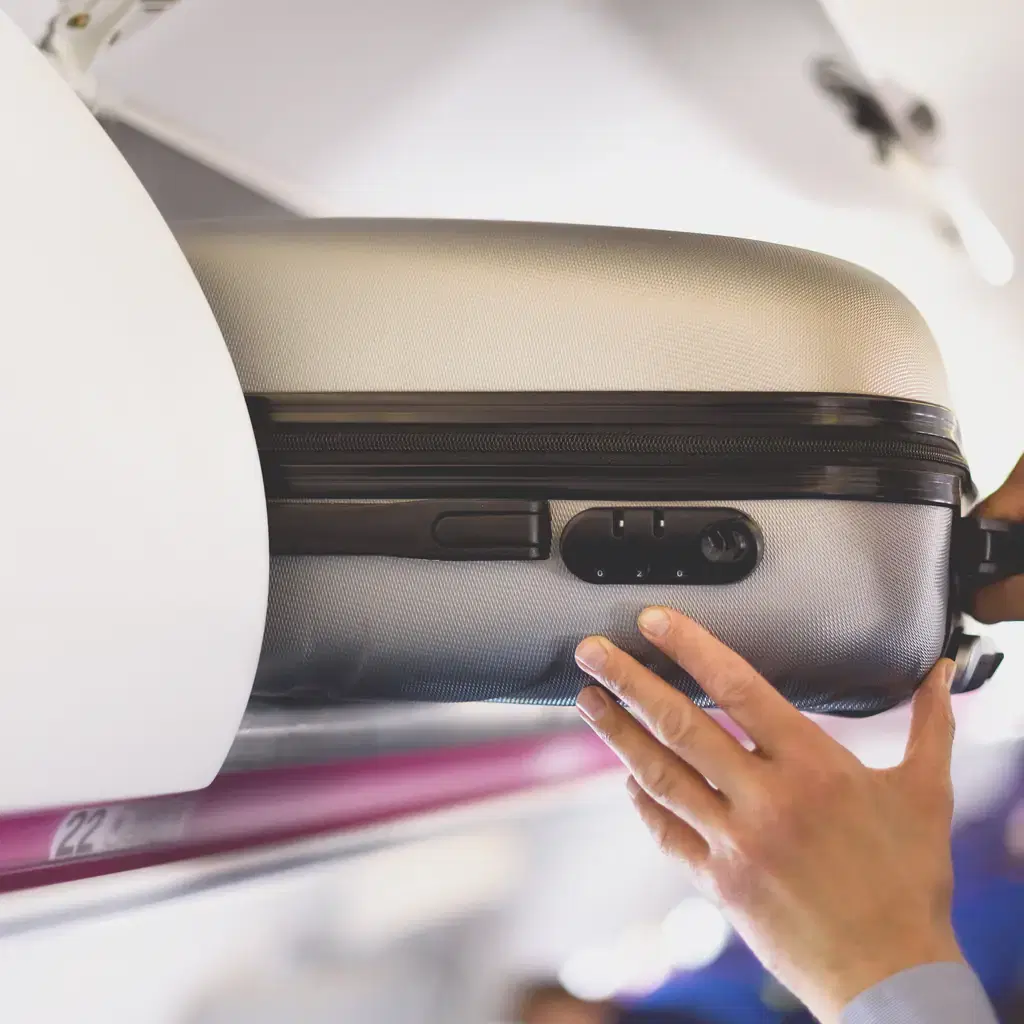
Laptops, cameras, jewelry, keys, and irreplaceable documents should not depend on overhead space. Keep them in the smaller bag that remains under the seat.
Place heavy electronics close to the bottom and against a padded panel. Avoid an outside pocket that opens toward the aisle.
The same packing discipline supports the broader list of carry-on items international flyers regret leaving behind.
6. Make the Liquids Bag Easy to Remove
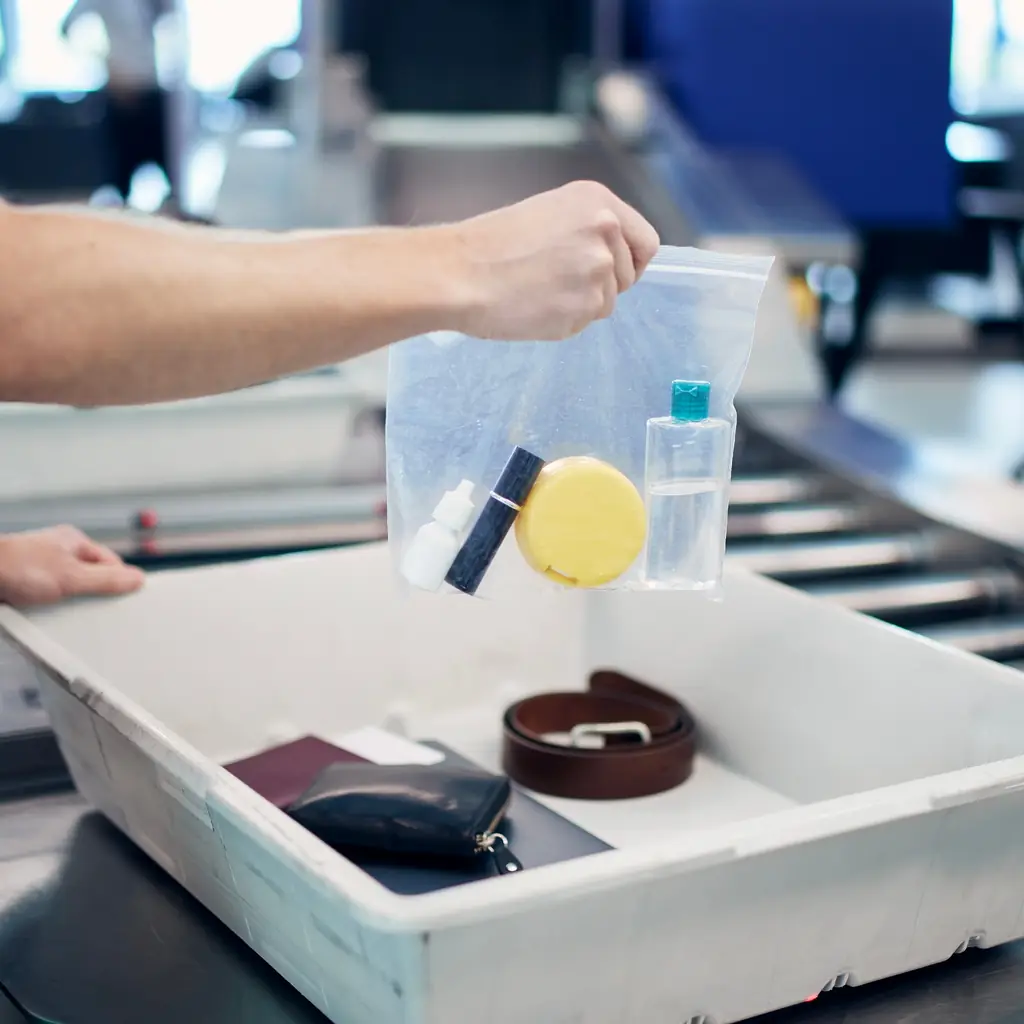
For standard liquids, gels, creams, aerosols, and pastes, TSA’s 3-1-1 rule uses containers of 3.4 ounces or less inside one clear quart-size bag per passenger.
Keep the bag near the top even if the checkpoint often lets it remain packed. Screening procedures and airports can differ.
Check every pocket for forgotten water, sunscreen, or a large toiletry. Starting with an empty bag prevents an old item from becoming today’s delay.
5. Stop Expanding the Bag Before It Becomes Round
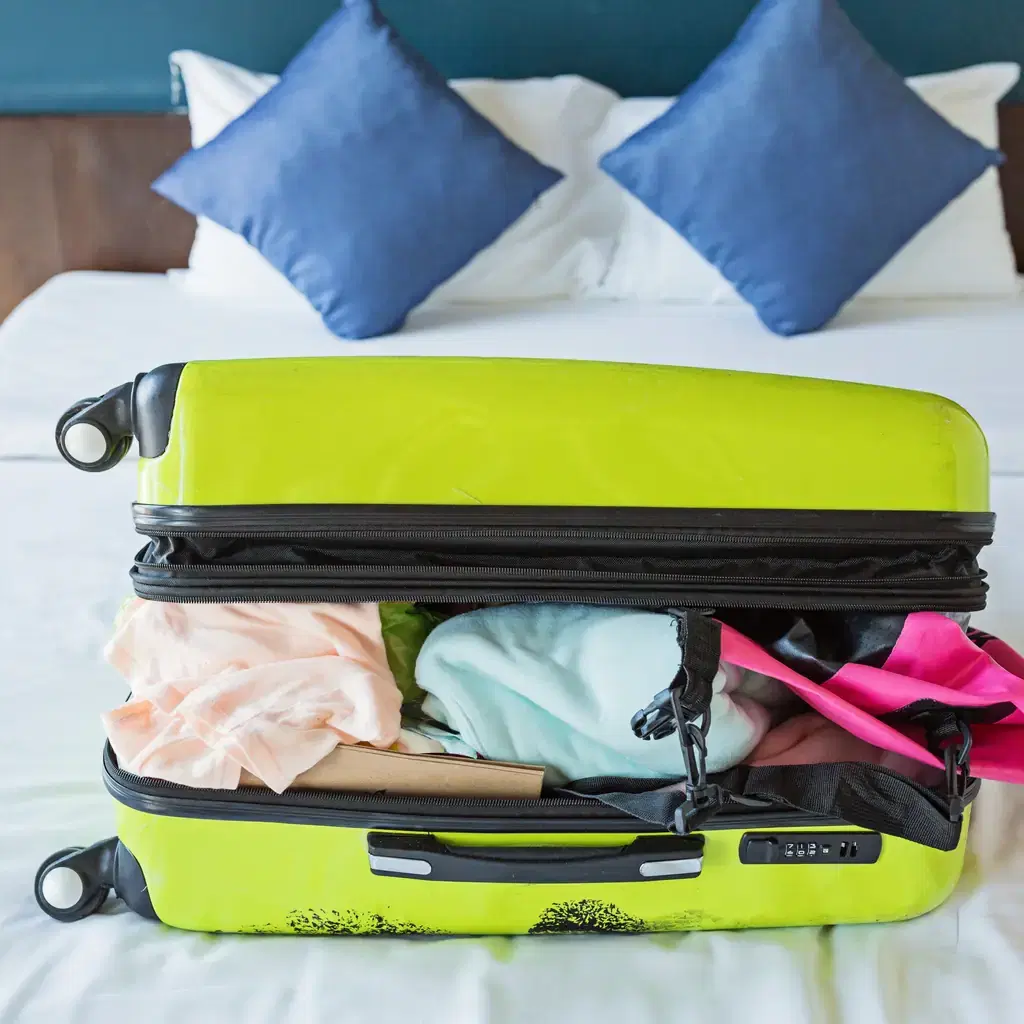
An overstuffed soft bag can match the listed height and width while exceeding the allowed depth. Compression straps cannot hide a hard bulge from the sizer.
Close the expansion zipper and pack to the natural shape of the case. Wear the bulky coat and choose one pair of shoes for the travel day.
For more experienced packing ideas, compare the items frequent international flyers keep close with the actual limits on the itinerary.
4. Put Heavy Items Low and Under the Seat
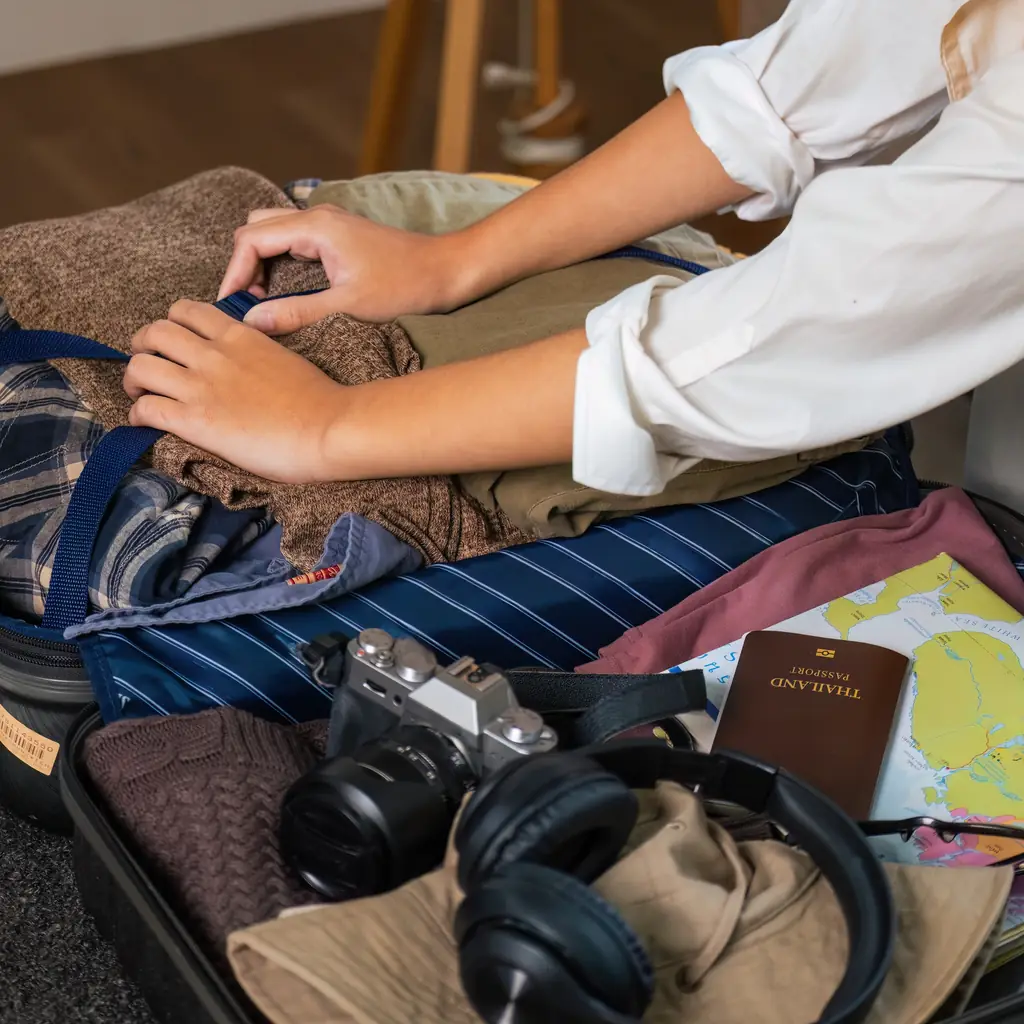
FAA guidance advises placing heavy items under the seat rather than overhead. A heavy object can shift in flight or fall when another passenger opens the bin.
Pack dense chargers, books, and electronics low in the personal item. Keep the overhead roller balanced and light enough to lift without twisting.
Ask for help rather than forcing a bag above shoulder height. Boarding speed is not worth an injury to the traveler or the person in the next seat.
3. Tuck Away Straps and Loose Attachments
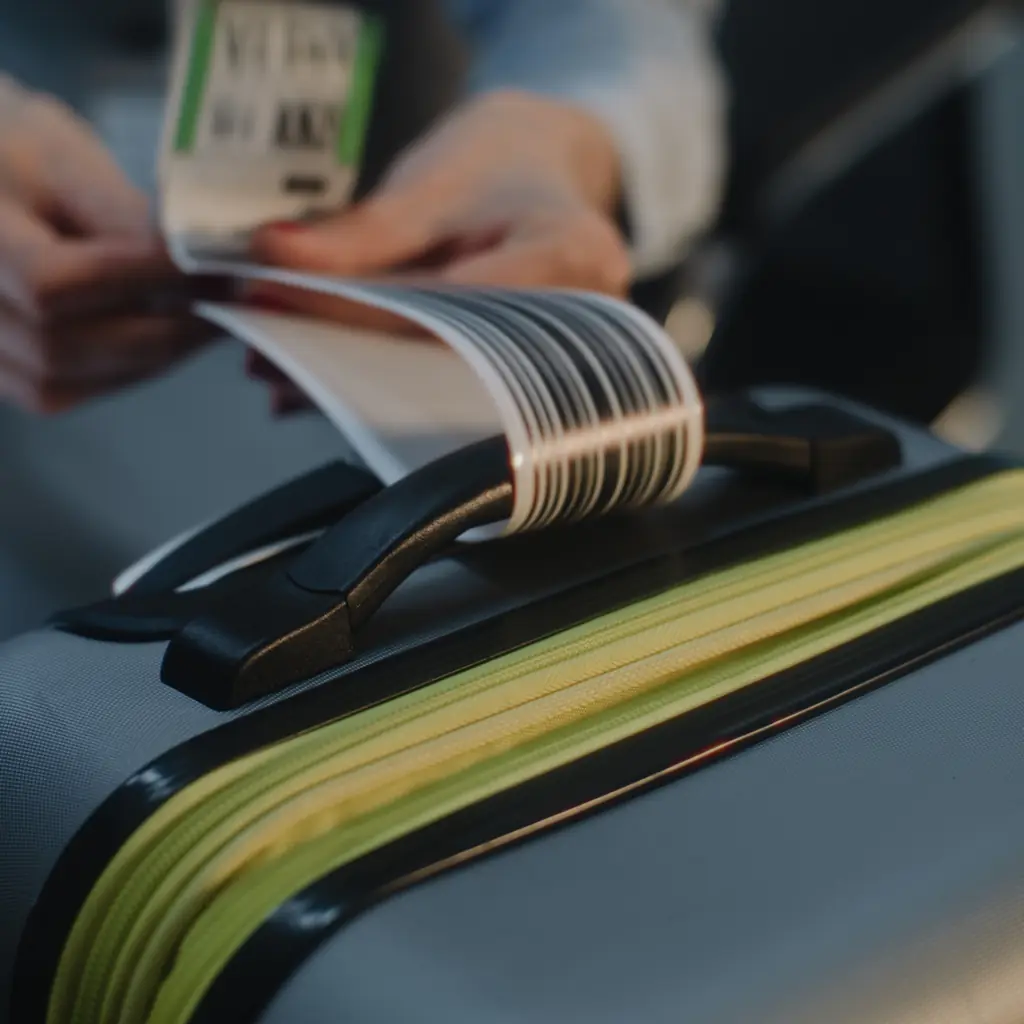
Dangling backpack straps, neck pillows, bottle loops, and luggage tags catch on armrests, sizers, and other bags. They also make a compact item appear larger.
Clip straps down and put loose accessories inside before boarding. A jacket tied around a roller handle can come free while the passenger lifts the bag.
Simple organization reduces the same kind of crowd friction found in cruise boarding mistakes that start trips badly.
2. Board With a Bin Plan, Not a Bin Claim

Overhead space is shared and can fill before the last boarding groups arrive. Place one approved roller in the orientation requested by the crew, and keep the personal item under the seat.
Do not spread a coat and small bags across an entire bin. Wait until boarding settles before moving a soft item overhead if room remains.
If the crew relocates the roller, note the row. Landing is a poor time to search every compartment.
1. Recheck the Rules Before the Return Flight

The return may use a different aircraft, partner airline, airport, or security process. Purchases can also change the bag’s size and weight.
Review the operating carrier, allowance, battery rules, and local restrictions before leaving the hotel. Move souvenirs into checked baggage only when they are safe and permitted there.
Travelers driving onward in an RV can use the same final check mindset with these campground habits experienced campers notice.
Comments
The opinions and views expressed in the comments section are solely those of the individual users and do not represent or reflect the opinions, views, or positions of HumbleTrail. HumbleTrail does not endorse, support, or verify the accuracy of any user-generated content.
By posting a comment you agree to receive related emails from HumbleTrail in accordance with our Terms and Privacy Policy. You can unsubscribe at any time.