

Editor’s note: This article offers general carry-on packing ideas.
Can you really pack a two-week trip into a carry-on? Absolutely – but it takes a bit of planning. Essentially, you’ll be bringing a one-week wardrobe and leaving space for some well-placed laundry stops along the way.
1. Check Your Airline’s Exact Limits First
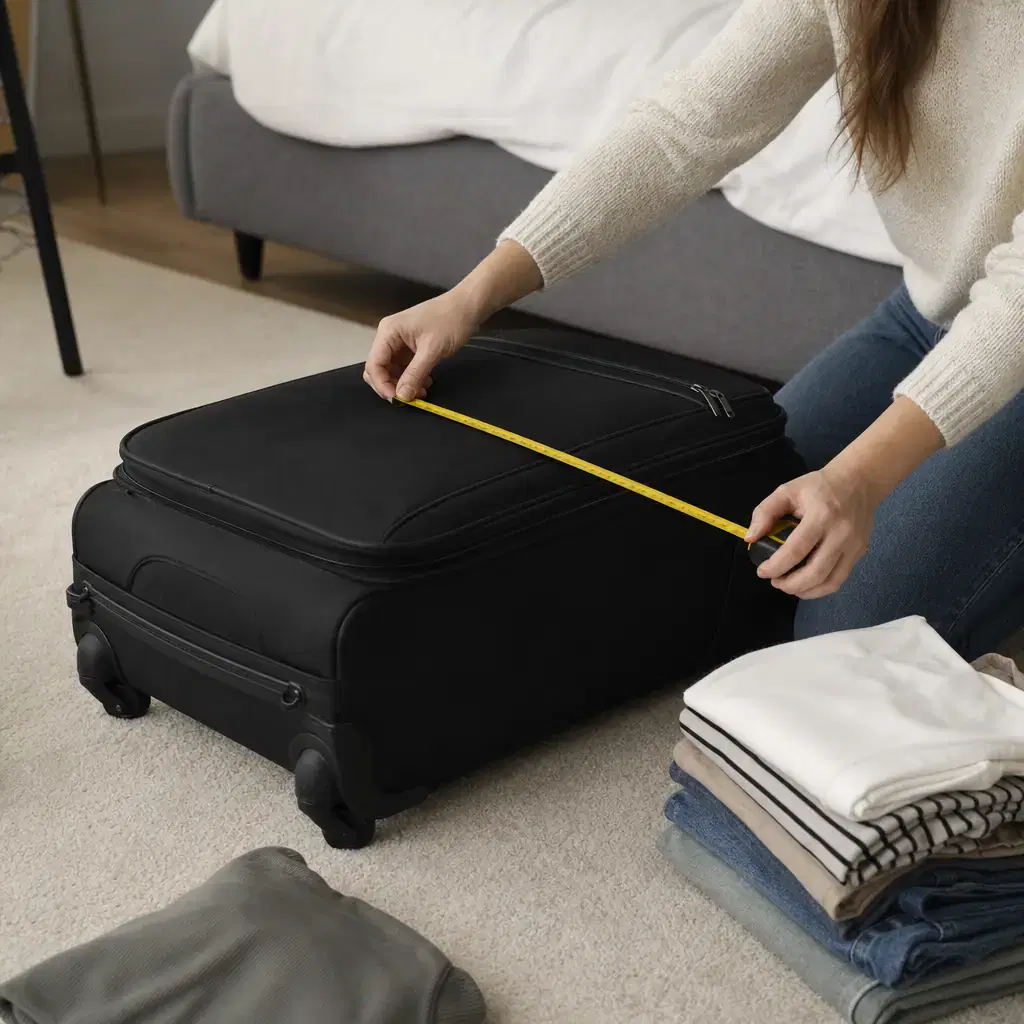
Check the carry-on size & weight limits with all of the airlines you’ll be using. Some connections and regional airlines may not be the same as your primary airline, especially if you’re flying with partners or affiliates.
Measure your luggage, including handles and wheels, to ensure it meets the airlines’ carry-on requirements. Weigh your empty luggage, it’s amazing how much of the weight limit can be consumed by some of those sturdy, hard-shell suitcases.
Take a picture of your airlines’ luggage size/weight restrictions and save them to your phone. Use it to check that your bag is within the limits before you leave.
2. Pack for One Week, Not Fourteen Days
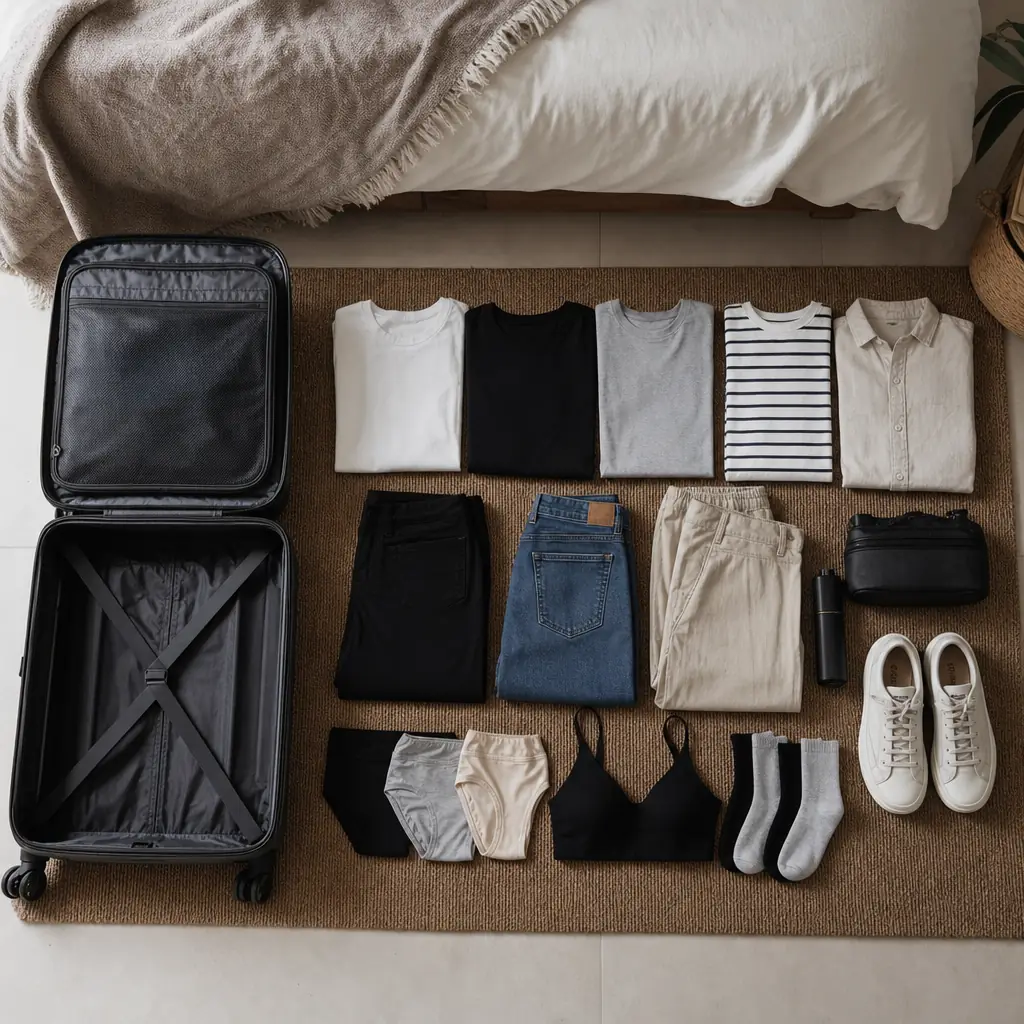
A useful default is a seven-day rotation. In other words, select one-week’s worth of clothes. Usually, that means five tops, three bottoms, seven sets of underwear & socks, pajamas/sleep clothes and an additional layer, adjusted for the weather and activities.
Every top needs to go with at least two bottoms.
Lay out your clothing and look for duplication. For example, you might realize that you’re bringing more dark-colored pants than you need.
3. Choose One Tight Color Palette
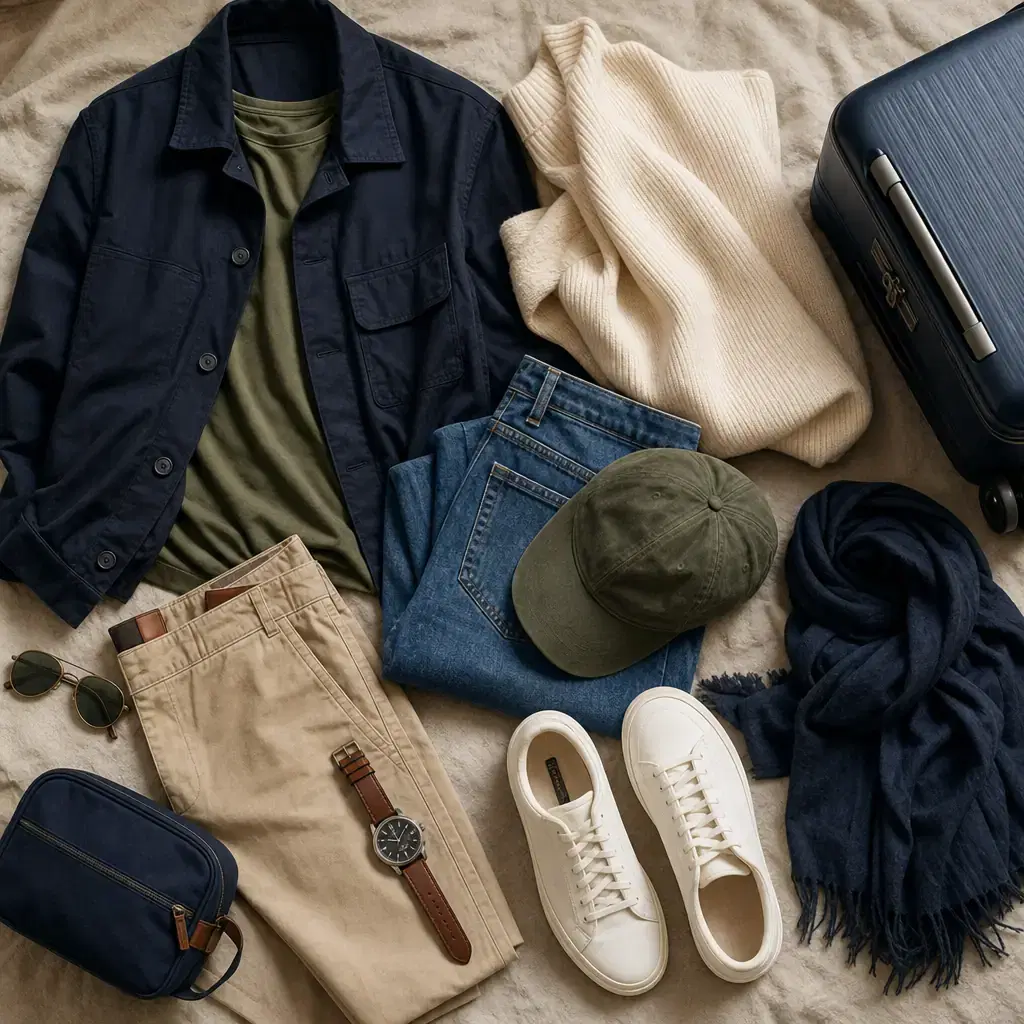
Limit your clothes to two main (usually neutral) colors with an accent color.
With these parameters, any of your bottoms should go with any of your tops. Take advantage of the fact that your accent color will add visual interest to your neutrals.
Leave out the one-time wears and the “just in case” articles, unless a planned event requires them.
4. Build Complete Outfits Before Packing
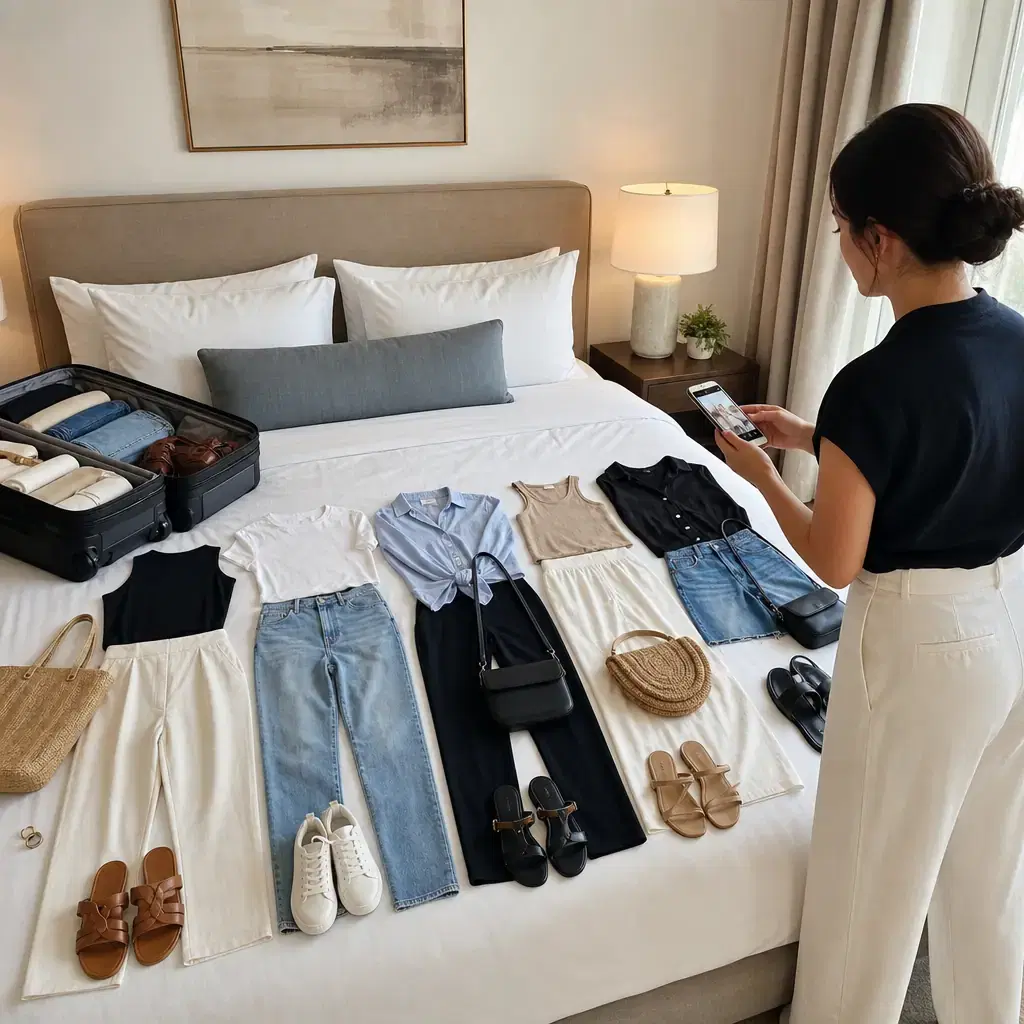
Arrange various outfits on your bed for different events/conditions on the itinerary.
Try on combinations in front of a mirror and snap some pictures for reference. This helps eliminate backup clothing that’s not needed.
Leave out the fussy outfits, those requiring certain accessories, shoes or elaborate dry cleaning, unless you need them for a planned event.
5. Limit Shoes to Two Pairs
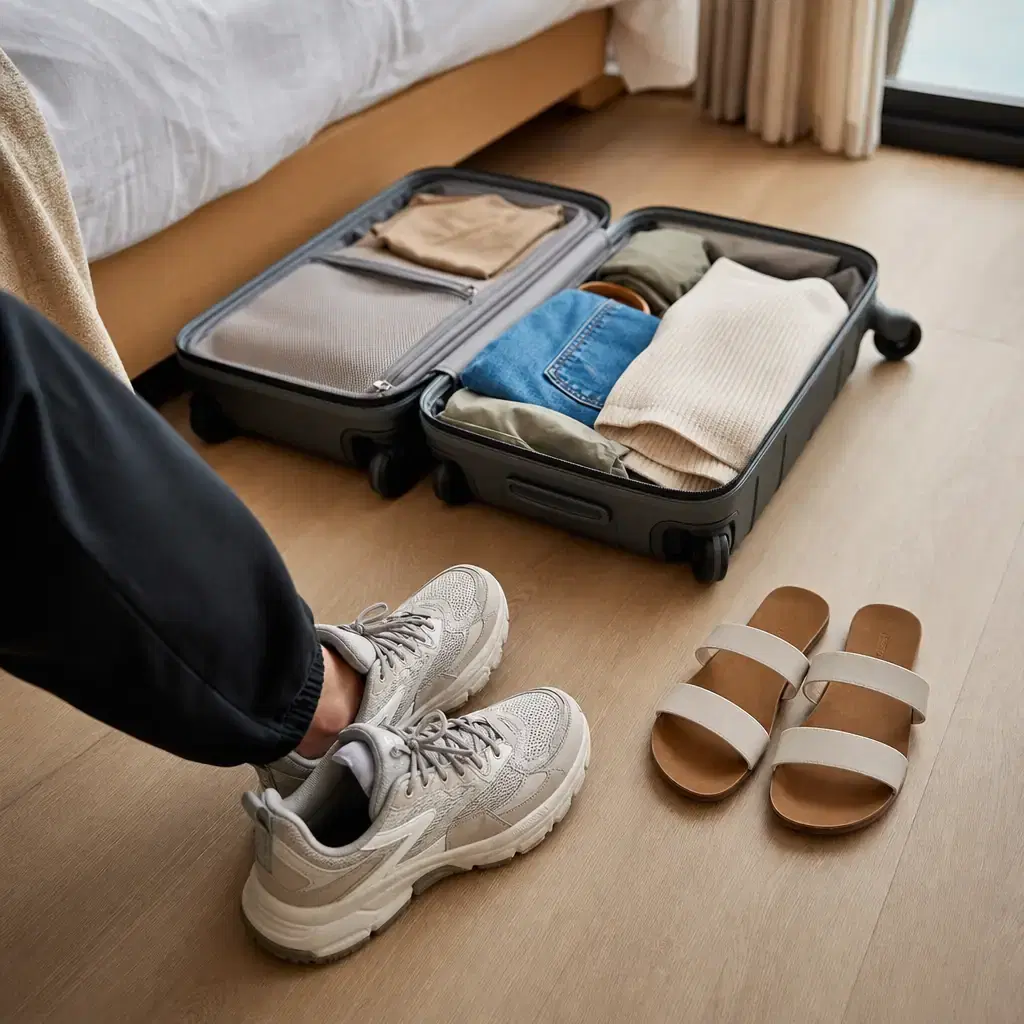
Limit yourself to two pairs of shoes, one sturdy/comfy pair for lots of walking and one lighter pair that suits the trip.
Wear the heavier pair. Wrap your carried pair in a washable shower cap or shoe bags. Fill the clean interiors with cables, socks or other small items.
Resist the urge to bring a third pair of shoes, unless, of course, there’s something on the itinerary that requires them.
6. Favor Light, Fast-Drying Layers
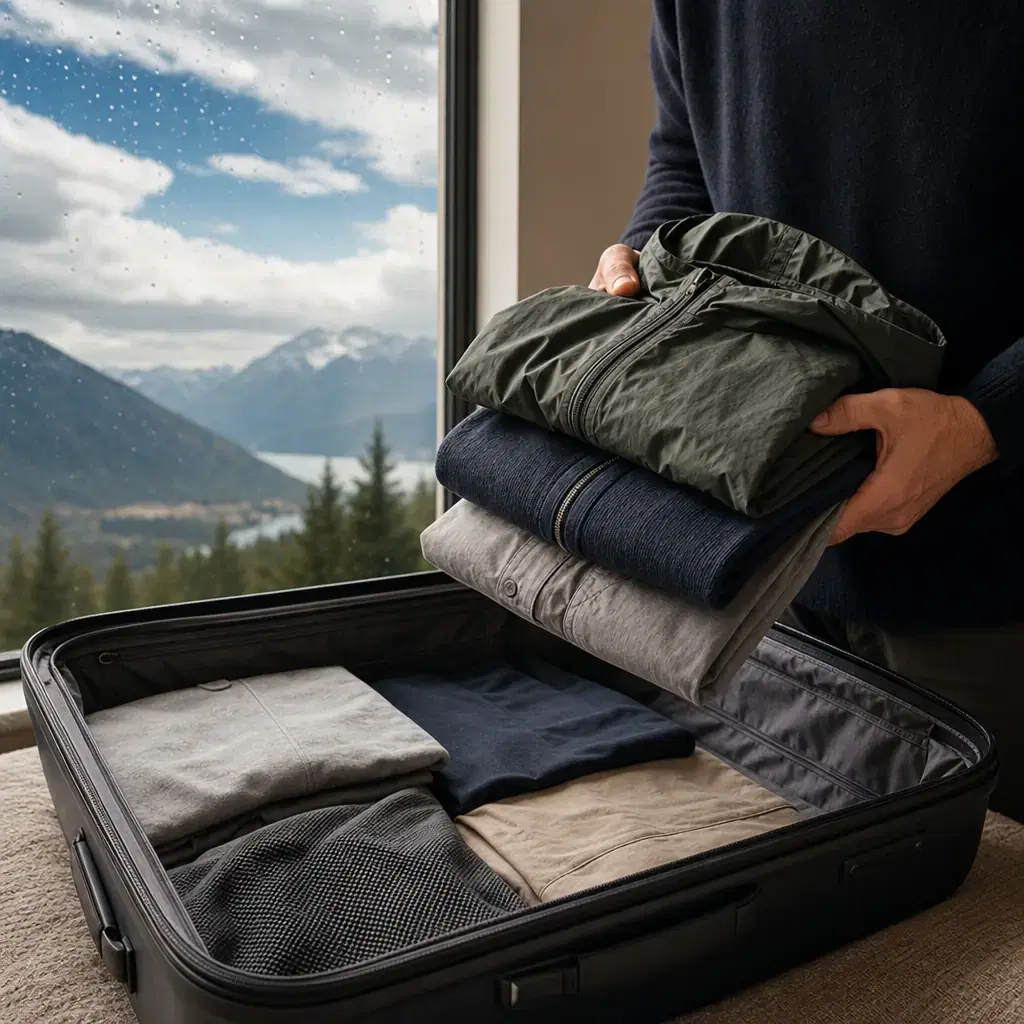
Leave the heavy coats at home if the weather allows. Choose lightweight layers instead, especially when traveling between different climates.
Pick three main items: a lightweight layer, a warmer layer and a raincoat.
All should be able to layer nicely over each other.
7. Use Packing Cubes as Boundaries
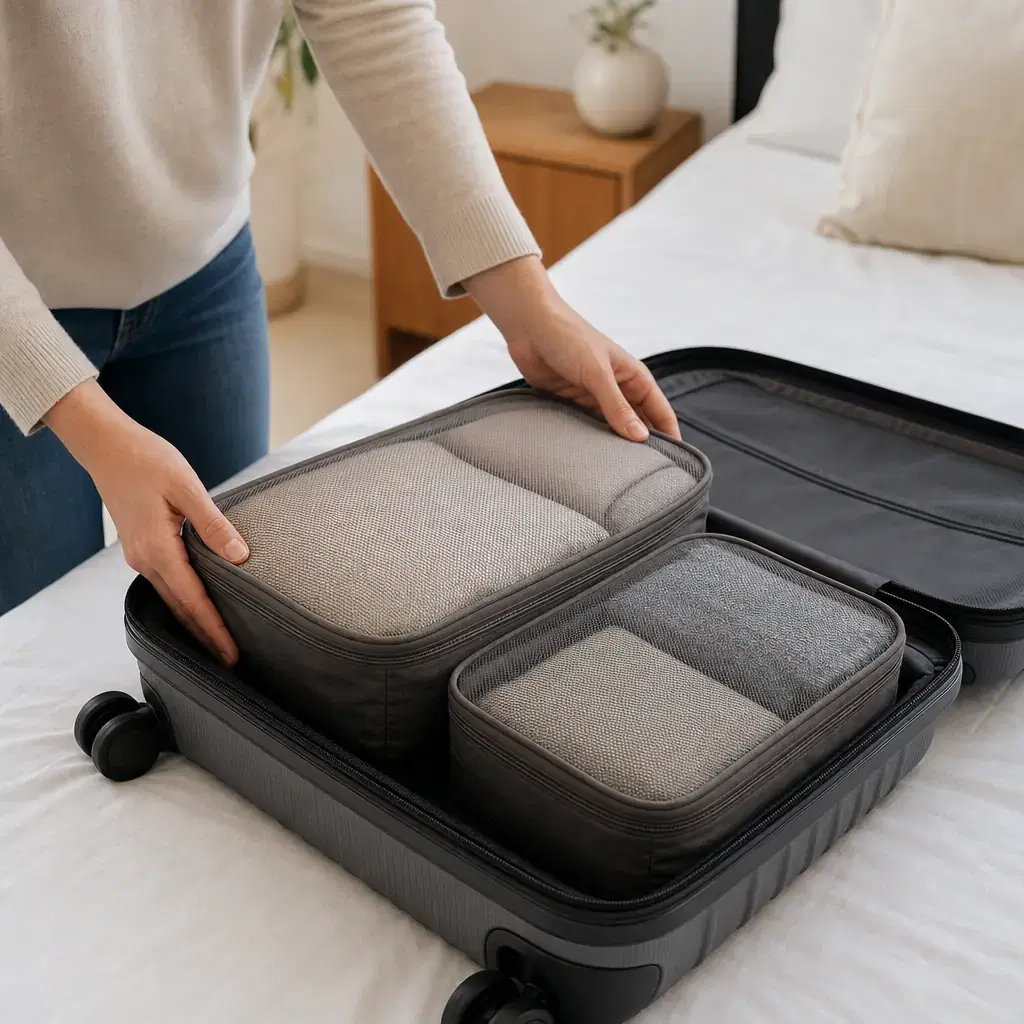
Pack by category, one way to do that is using packing cubes. Assign each item to a specific cube, such as tops, bottoms, underwear, shoes, or toiletries, and close them up.
Compression sacks are helpful, but bear in mind, they don’t lighten your load.
The final product should be a suitcase that can be managed by one person and lived out of with relative ease. Read more: carry-on habits that prevent trouble at the gate.
8. Roll Knits and Fold Structured Clothes
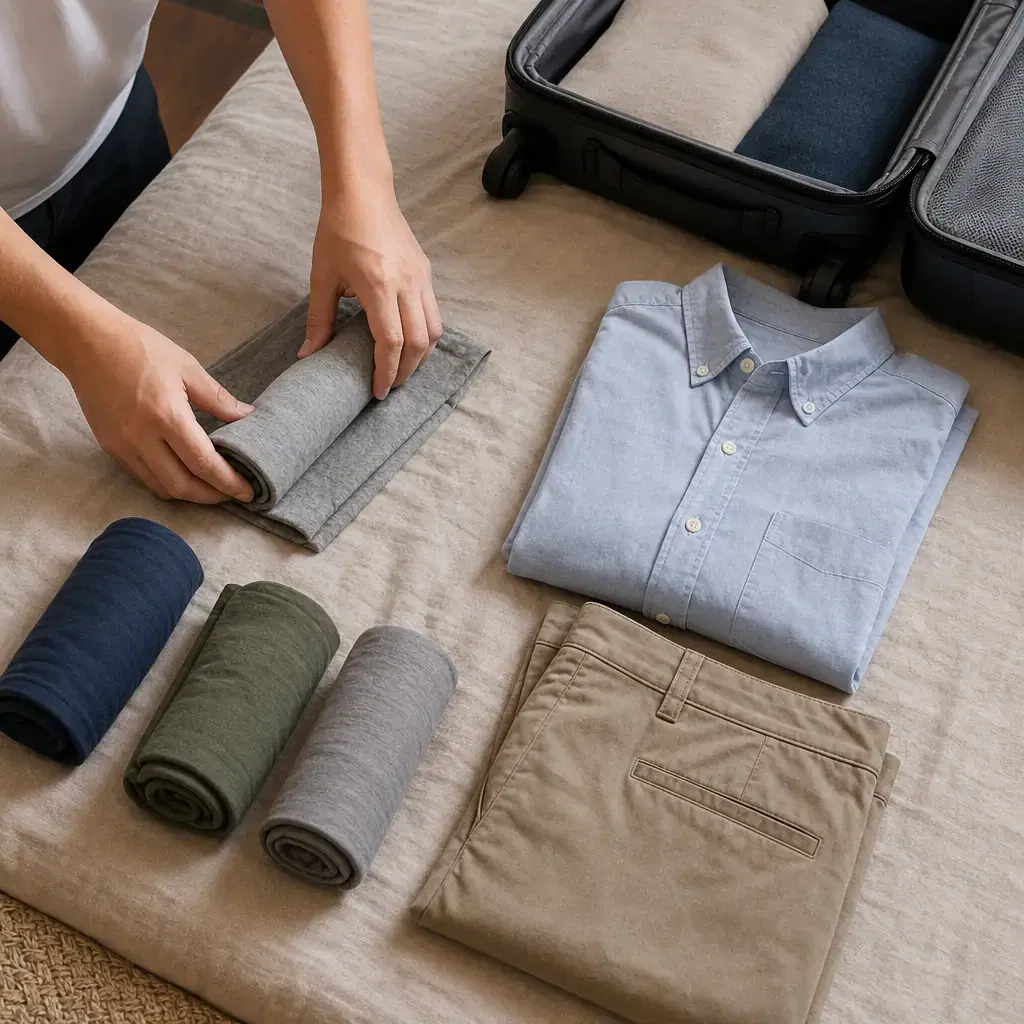
Roll up T-shirts, activewear and other stretchy items.
Fold more structured items along existing creases, like dress pants and button-downs.
Fill odd spaces with socks, underwear, basically, anything soft or bendable. Read more: useful carry-on items for an international flight.
9. Schedule One Laundry Stop
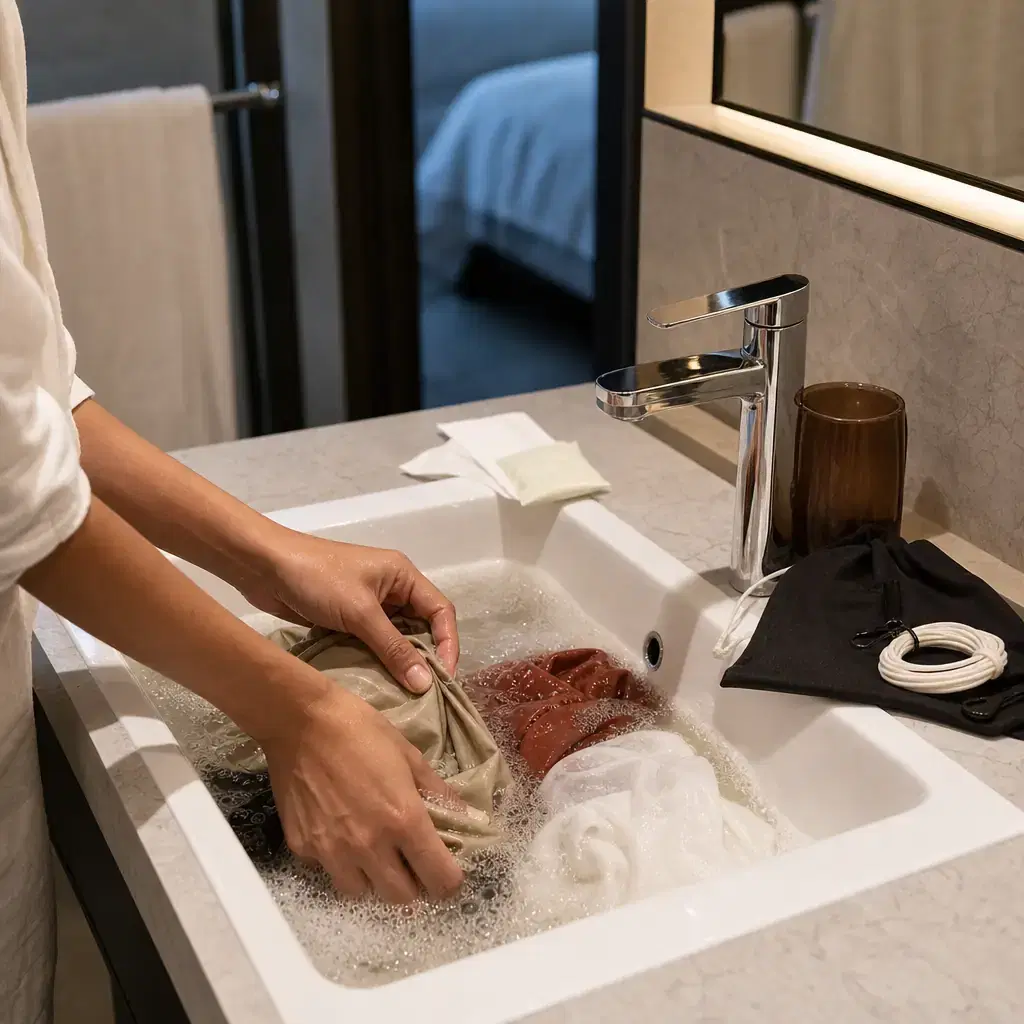
Decide where and when you’ll do some washing during the trip. Many people like to do a quick turnaround on Day Six or Seven. You may be able to take advantage of your hotel’s on-site machines or visit a laundromat.
You may simply choose to wash items in the sink and hang them up to dry overnight. Choose quick-drying materials for anything you may want to wash during the trip.
Don’t forget a little detergent in a secure container that meets carry-on rules if you’ll be doing laundry, and make sure you’ll be able to hang your stuff to dry. Read more: small items experienced international travelers pack.
10. Decant Toiletries Into Trip-Size Containers
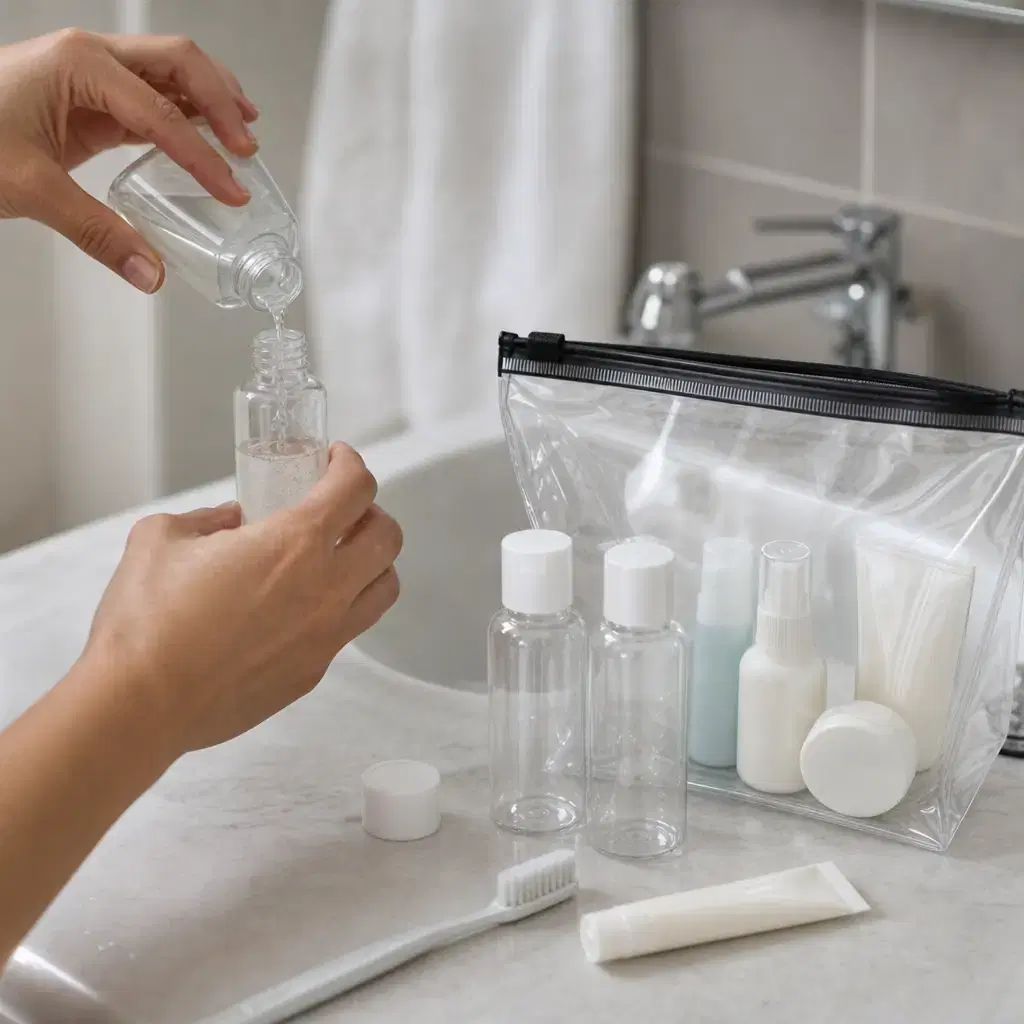
Think about decanting shampoo, cleanser, etc. into smaller, leak-resistant containers.
Remember that for U.S. screening, according to the TSA, standard carry-on liquids, gels, creams, pastes and aerosols need to fit into one quart-size bag per traveler, and each container can’t be greater than 3.4 fluid ounces (100 mL). Read more: TSA liquid rule.
How many times will you be using it? Really need an entire bottle? Read more: toiletry choices frequent flyers make.
11. Keep Medicine Separate and Accessible
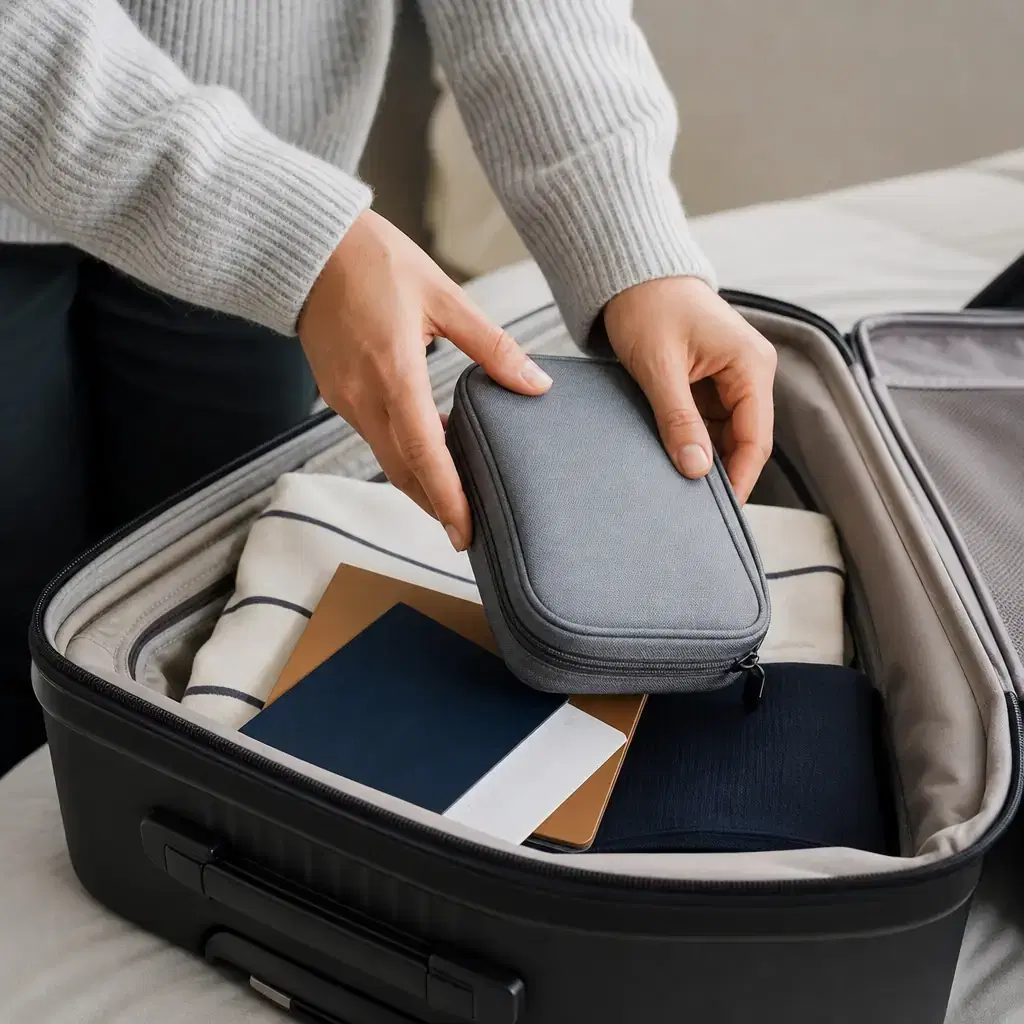
Make sure you have all of the medicines you need during your trip. Bring them in carry-on in identifiable packaging, and pack extra for delays.
TSA allows medically necessary liquids in larger amounts in reasonable quantities for your trip. Tell the officer at the start of screening. For other departures, check the guidelines of the country you’re departing.
Make sure you can easily produce these during security screenings. Read more: important pre-cruise checks.
12. Consolidate Your Electronics
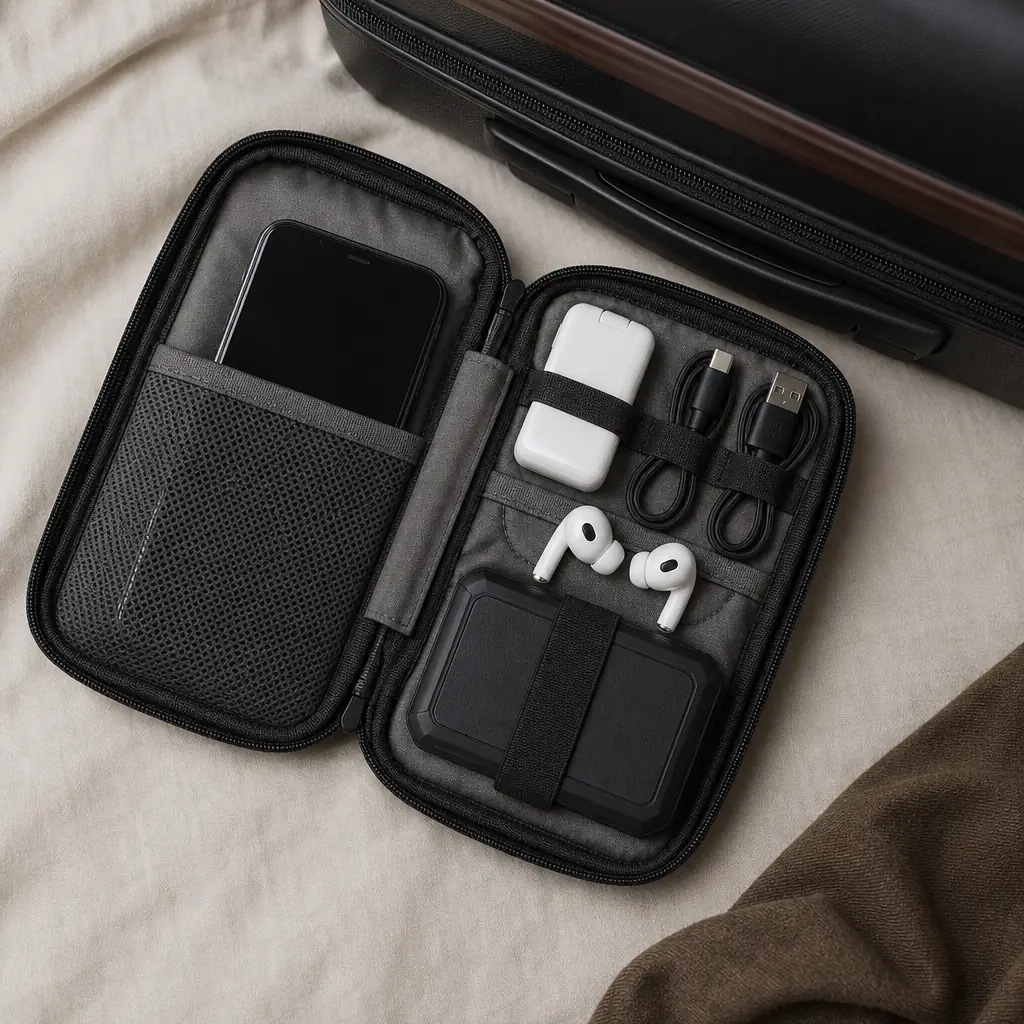
Leave behind the guidebook, camera, clock, entertainment screen, if your phone covers those needs.
Check ahead what type of charger/plug you’ll need in your destination. Invest in a compact multiport charger, and if you’re traveling with others, each have a charger so you’re not counting on one item that may go missing during connections.
Spare lithium batteries/power banks need to be in carry-on luggage per FAA regulations. Make sure they’re stored so that they will not make electrical connections with other items by protecting exposed terminals or storing each individually in a plastic bag or original packaging. Read more: FAA requires spare lithium batteries and power banks.
13. Create a Quick-Access Airport Zone
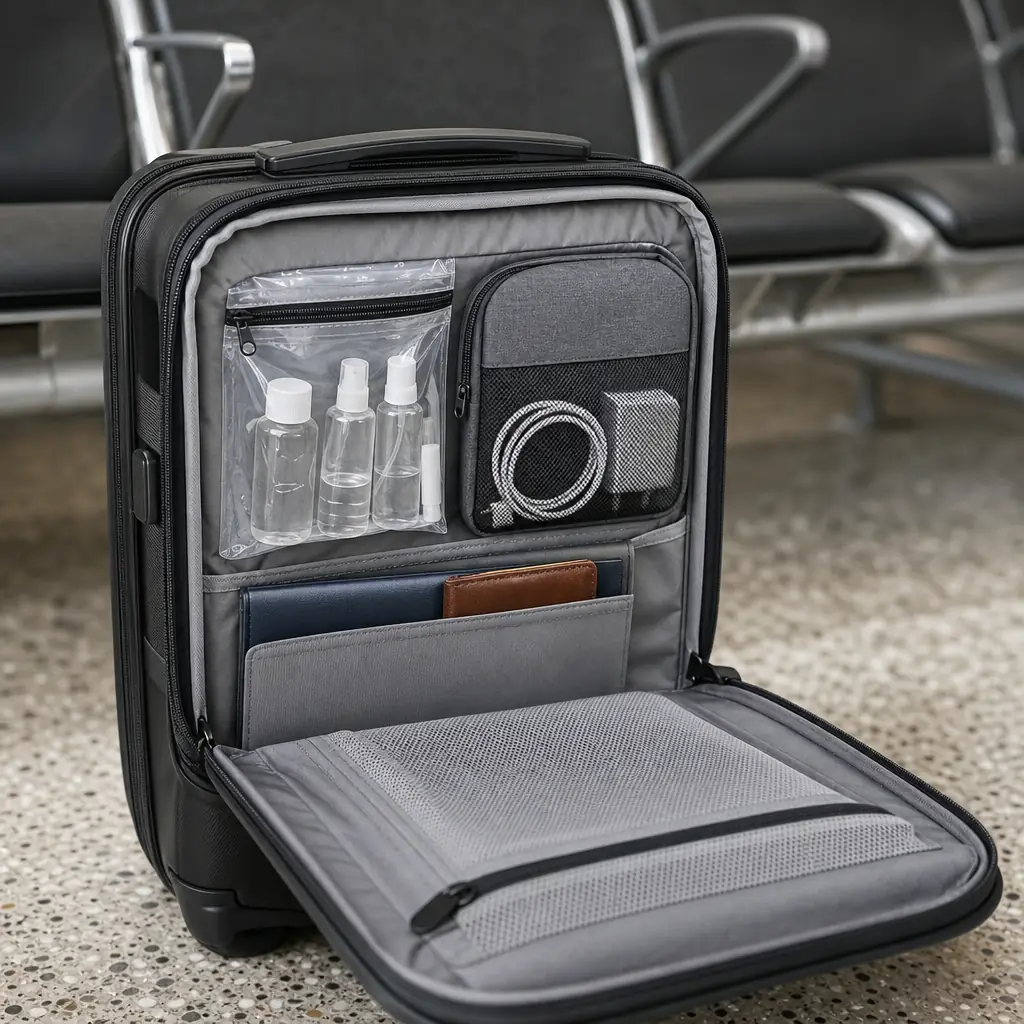
Leave some space in the top of your bag for your quart-size liquids bag, passport, any electronic devices you’ll be asked to remove during screening, pen, empty water bottle to fill after security, medicine, a light jacket or other layer.
If your carry-on is gate-checked, remove all spare lithium batteries and power banks and keep them with you in the cabin.
Decide what you’ll be reaching for frequently, such as your phone, medicine, liquids, jacket, or passport, and make sure these are within reach, such as at the top of your suitcase rather than buried at the bottom. Read more: boarding-day mistakes that start cruises badly.
14. Wear the Bulkiest Pieces in Transit

Wear the larger shoes, long pants, and heaviest useful layer on the flight.
Choose items that can be layered so you’re not bringing multiple “just in case” articles.
Limit the colors you’re packing and make sure you can create a number of looks with what’s in your suitcase. Read more: practical ways to avoid looking unprepared.
15. Fill Dead Space With Small Items
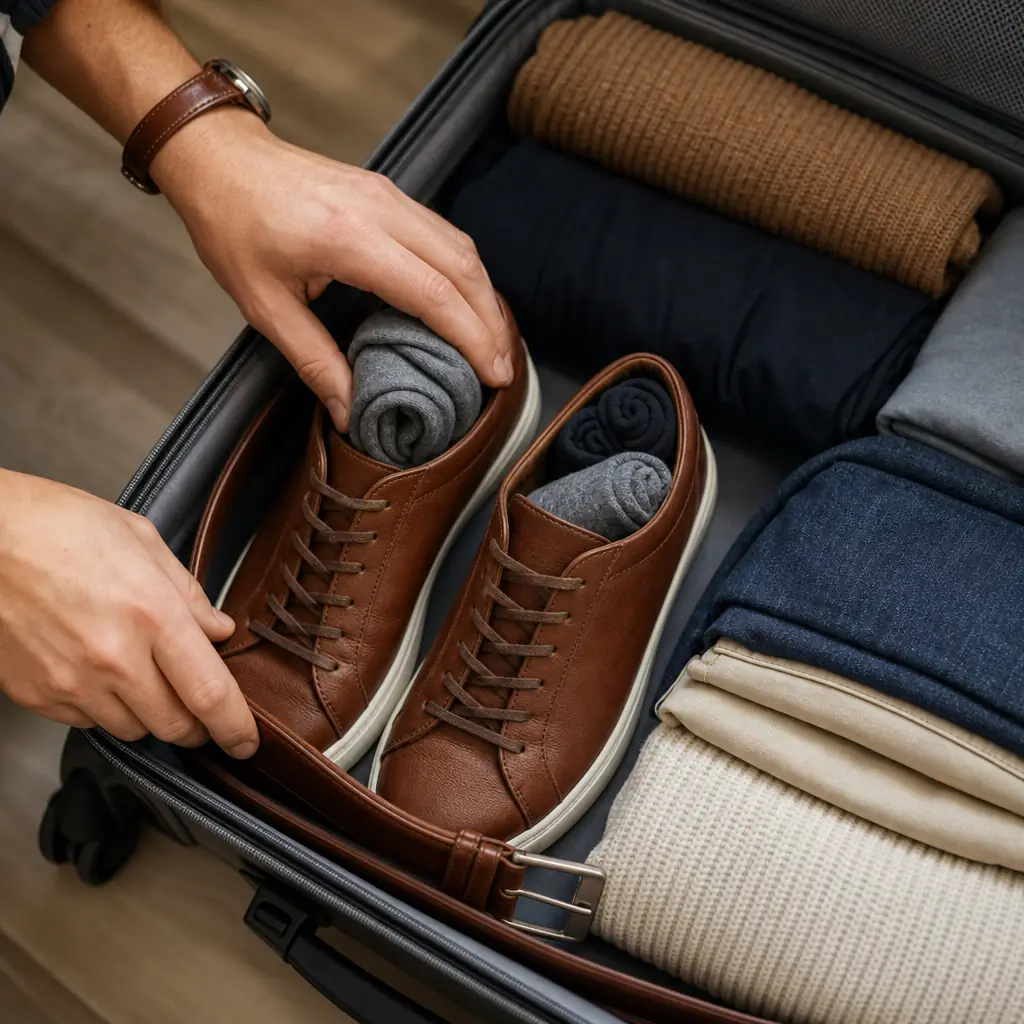
Roll up socks to stuff into shoes, pack belts into long, skinny spaces. Pack laundry bags flat into the back of your bag.
Protect breakable items away from bumps, avoiding wheels, edges, and corners.
Use any weirdly shaped spaces for securely packed toiletries, chargers, etc.
16. Reserve Space for the Return Trip
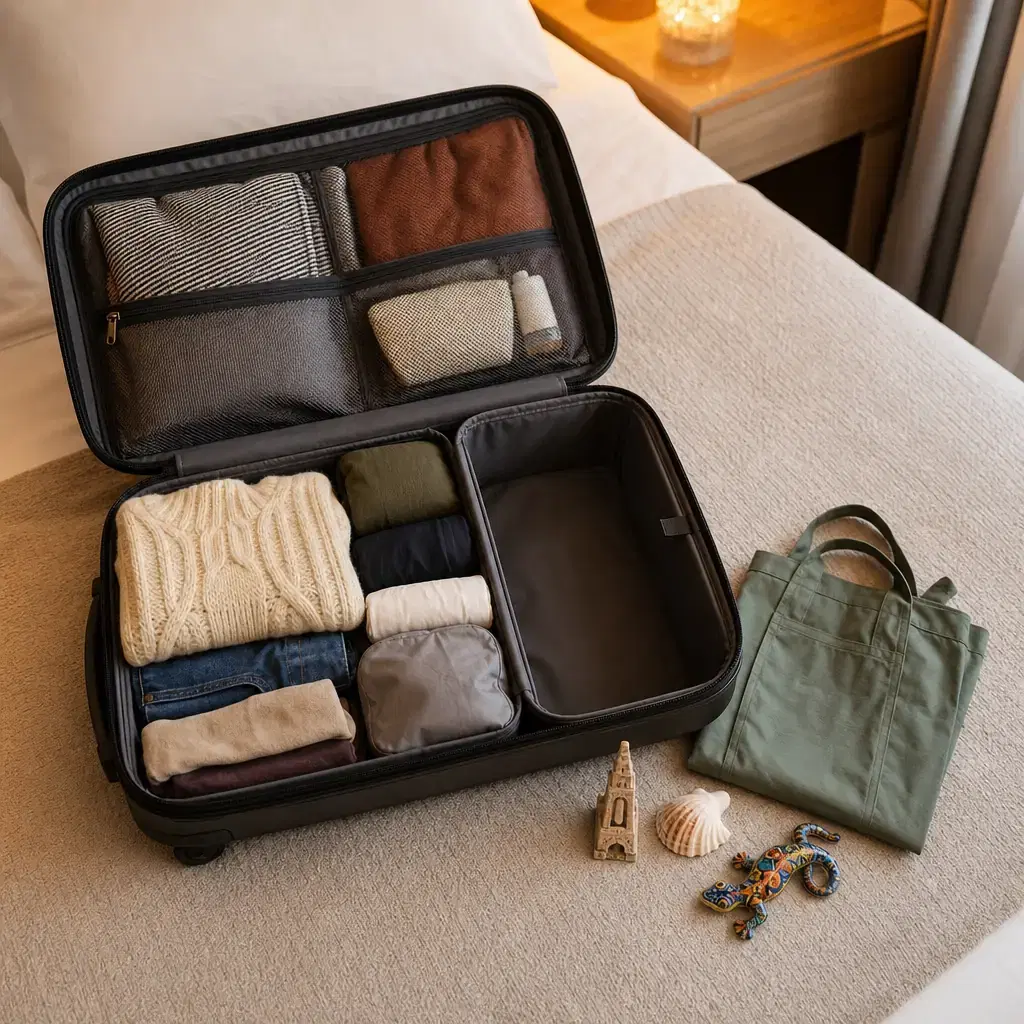
Leave 15–20% of the space in your suitcase open.
If you carry a small laundry bag separately, make sure it fits within your airline’s personal-item allowance.
You’ll be surprised at how much laundry and how many souvenirs you’ll be bringing home. Read more: common onboard purchases.
17. Complete a Full Test Pack
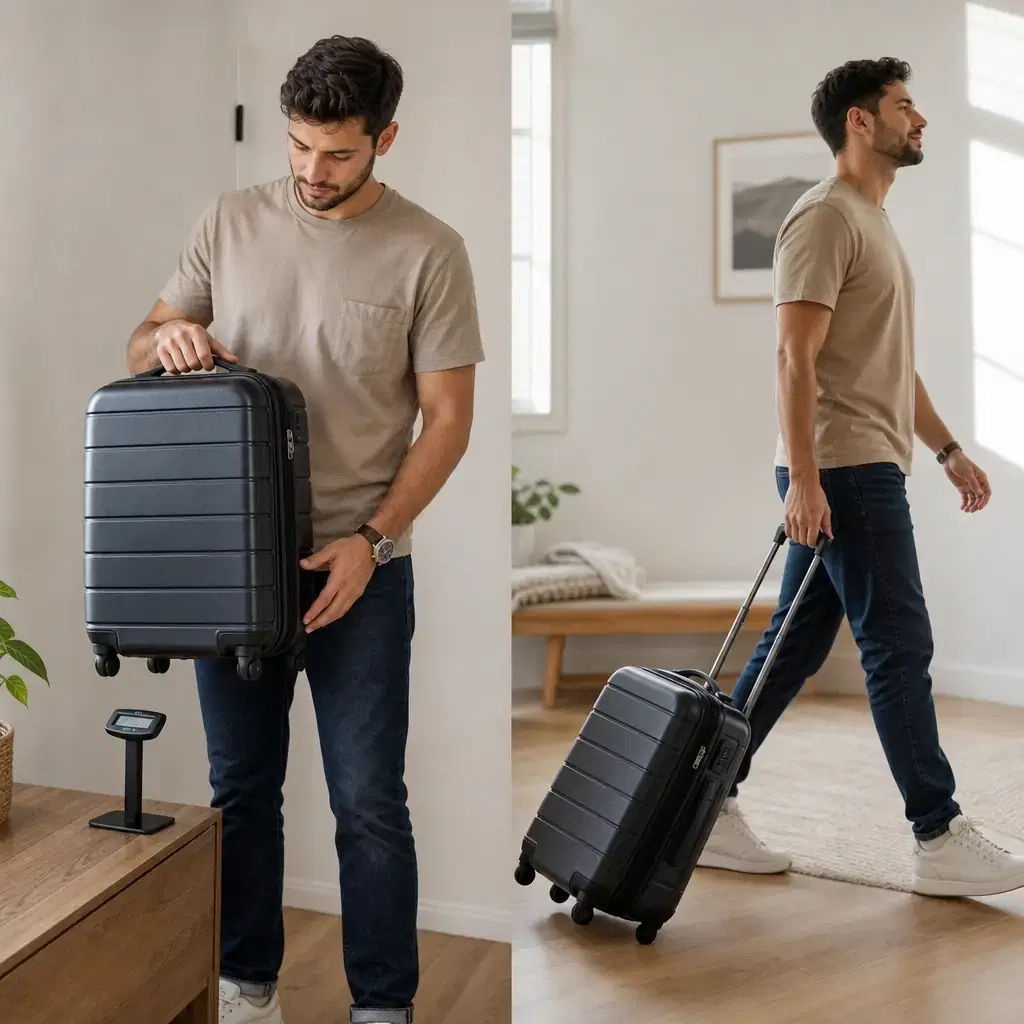
Test your suitcase, pick it up, close it, check the weight, carry it around the house for a few minutes. Can you lift it to overhead-bin height comfortably?
Try to take out an item you’d need during screening, can you easily find it?
If your suitcase is giving you grief at any of these steps, take out an item that’s not essential and try again. Now you’re ready to go.
Comments
The opinions and views expressed in the comments section are solely those of the individual users and do not represent or reflect the opinions, views, or positions of HumbleTrail. HumbleTrail does not endorse, support, or verify the accuracy of any user-generated content.
By posting a comment you agree to receive related emails from HumbleTrail in accordance with our Terms and Privacy Policy. You can unsubscribe at any time.